Posts in Learn modern calligraphy
Free Calligraphy gift tags

I just love this time of the year! I have so many beautiful memories from past Christmases, especially around creative crafts with my mum and sister and gift-giving.

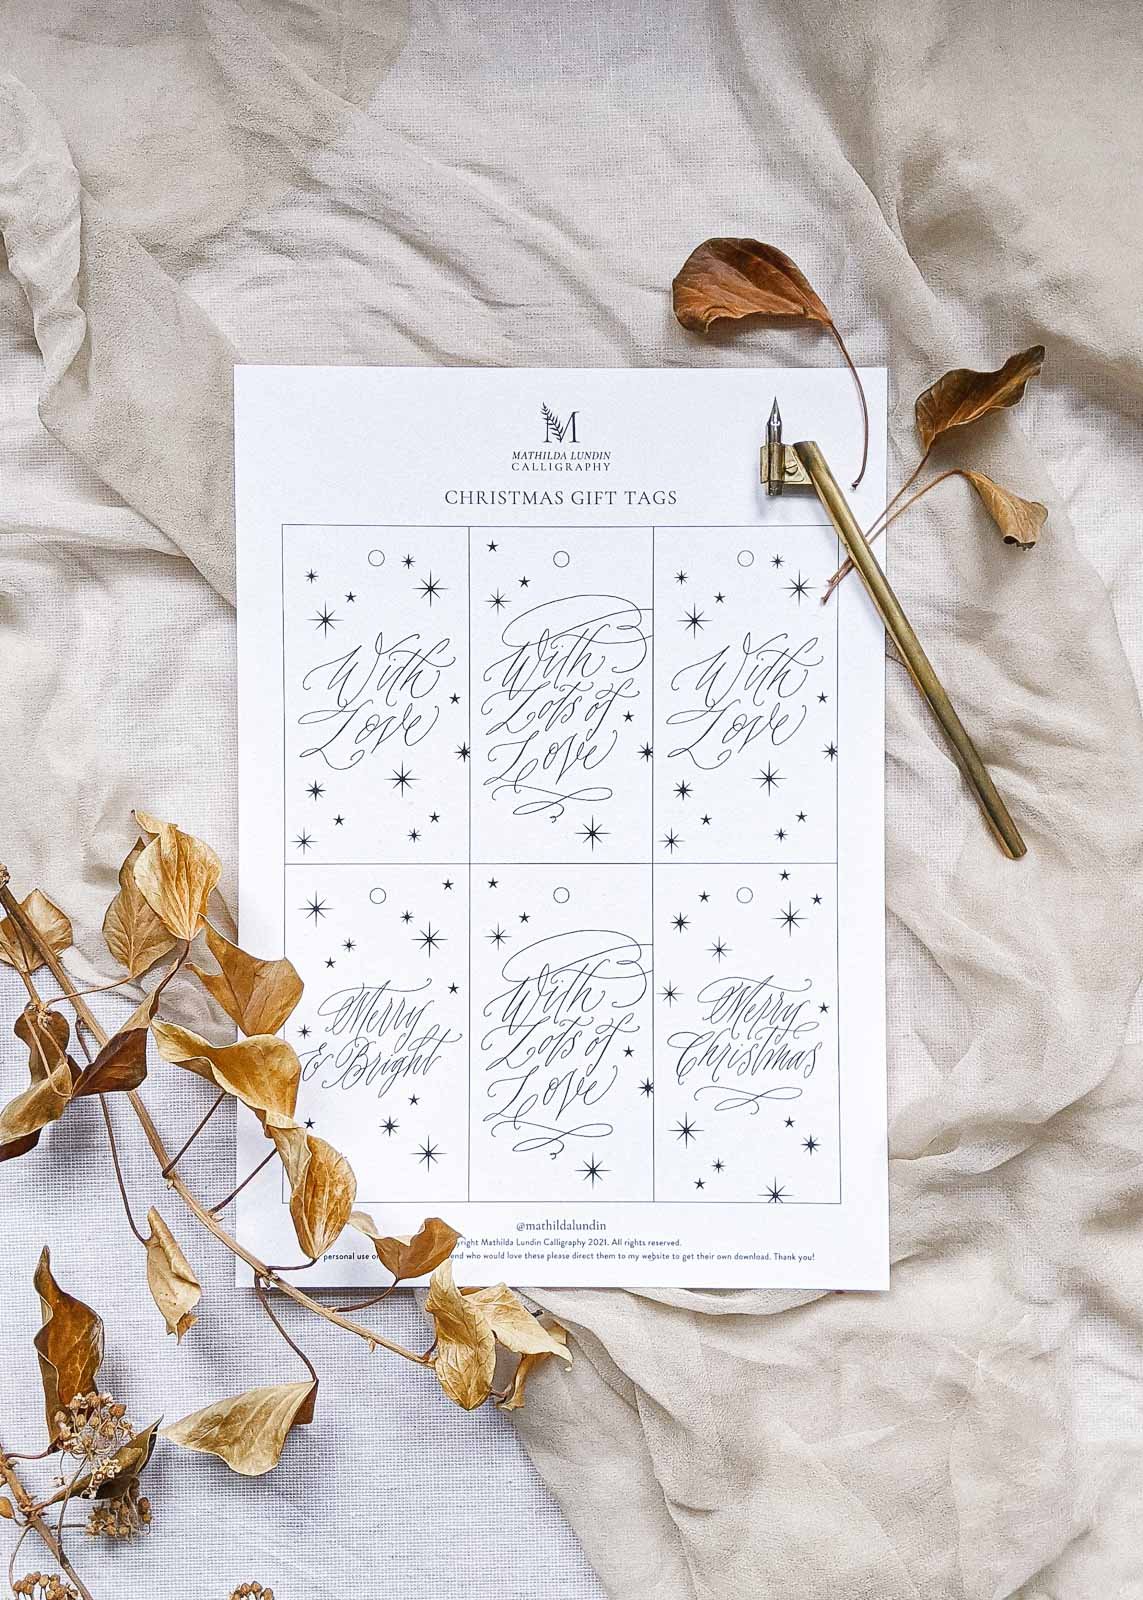
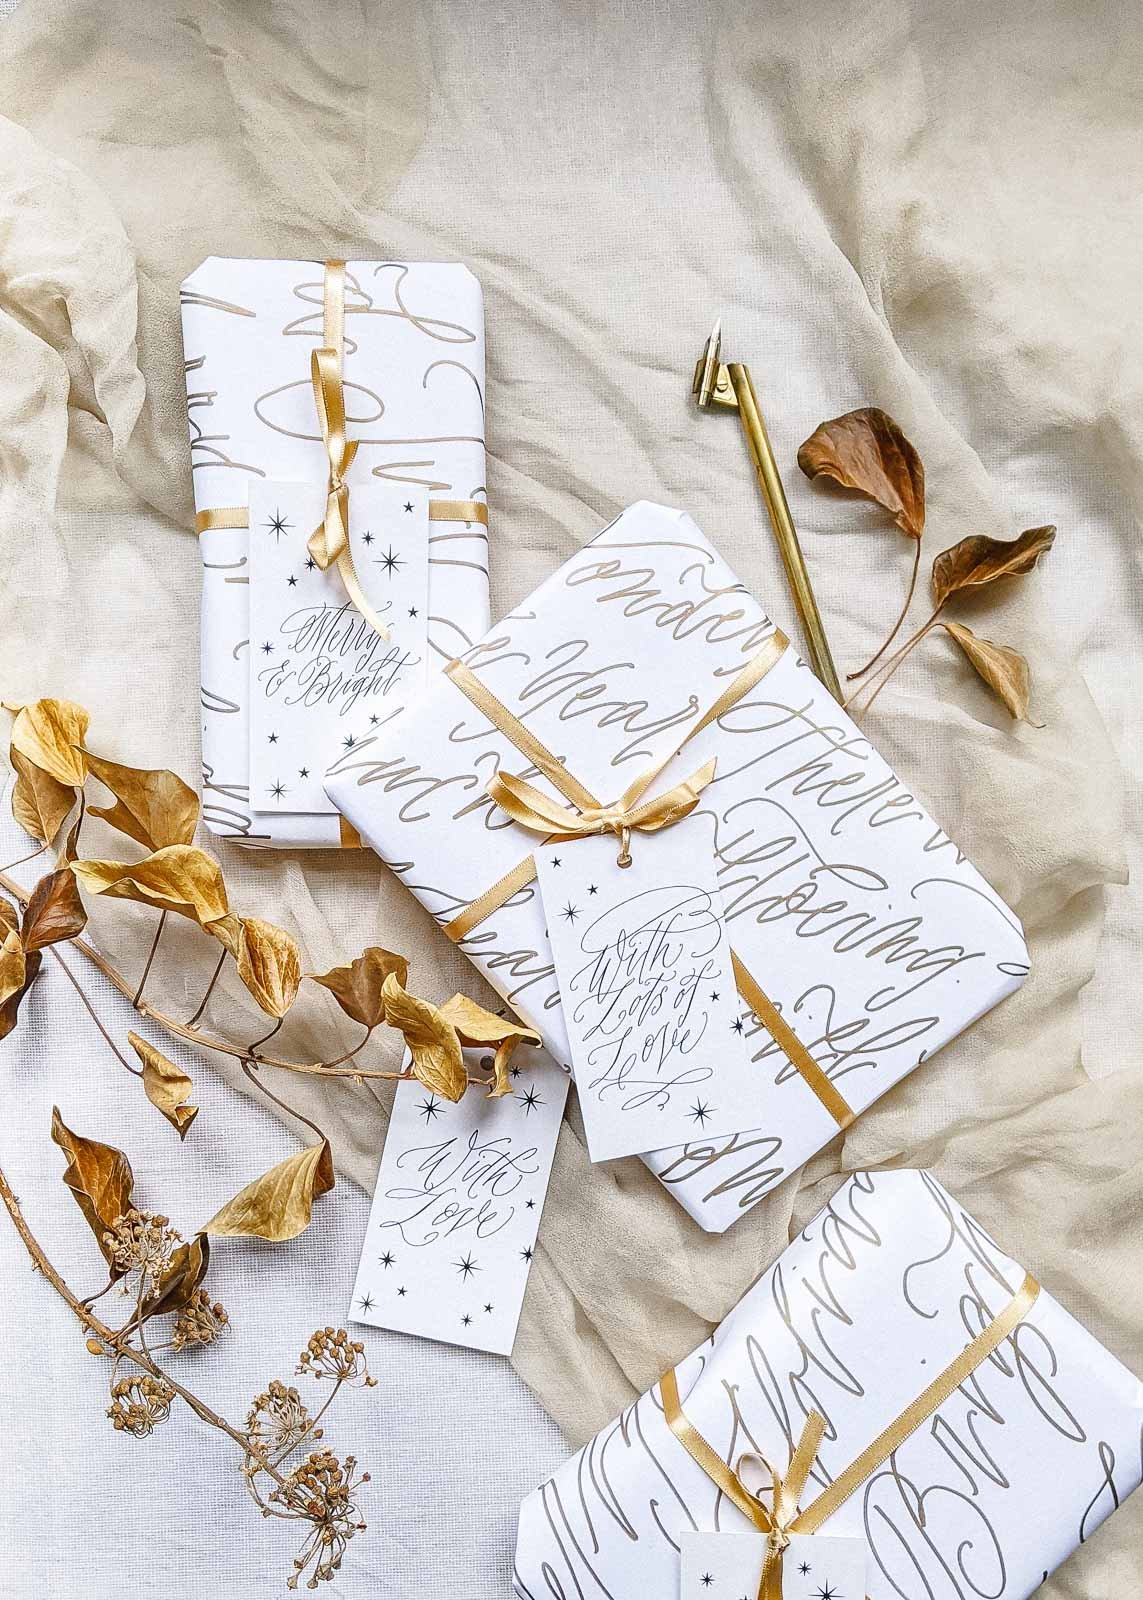
This year I’ve put together some new calligraphy gift tag printables that you can download and use for your gifts by clicking the link at the end of this post. They’re created with a nib and ink and some added star details.

I also love making my own wrapping paper with calligraphy, this year I’ve gone for gold on white but I also adore using brown paper. I have a tutorial on how to create your own calligraphy wrapping paper and ribbons here if you are interested in making your own.

Have the most wonderful Christmas and holidays with your family and friends. Also, if you upload any photos of your gift creations with the gift tags make sure you tag me as I’d love to see them! @mathildalundin

Merry Christmas!

Mathilda x

WHAT YOU'LL NEED

  • Printable download (you’ll find this at the end of this post)

  • White (or other light) card stock of choice (I like to use something a bit heavier to add a bit of sturdiness to my tags, approximately 200 - 300gsm)

  • Computer & printer

  • PDF viewer (e.g. Adobe Reader)

  • A hole punch

  • Ribbon or twine


STEPS

  1. Download your gift tags and open up with your PDF viewer

  2. Print out the gift tags on A4 or US letter paper. I like to use a matte paper stock between 200-300 gsm and feed through the fine art front tray of my printer. Make sure to have a look at what tray and thickness is suitable for your printer and that your print quality is set to 'high'.

  3. Using scissors, a scalpel or guillotine, cut around the line on the outer edges. I like to use a scalpel and metal ruler on a cutting mat.

  4. Punch a hole in the top of the tag where the circle is, write a special note on the back and attach the gift tag to your wrapped gift with a ribbon or twine.


Related posts

A beginner's guide to modern calligraphy: My top tools and supplies
 
mathilda-lundin-modern-calligraphy-tools-and-supplies-for-beginners.jpg
 

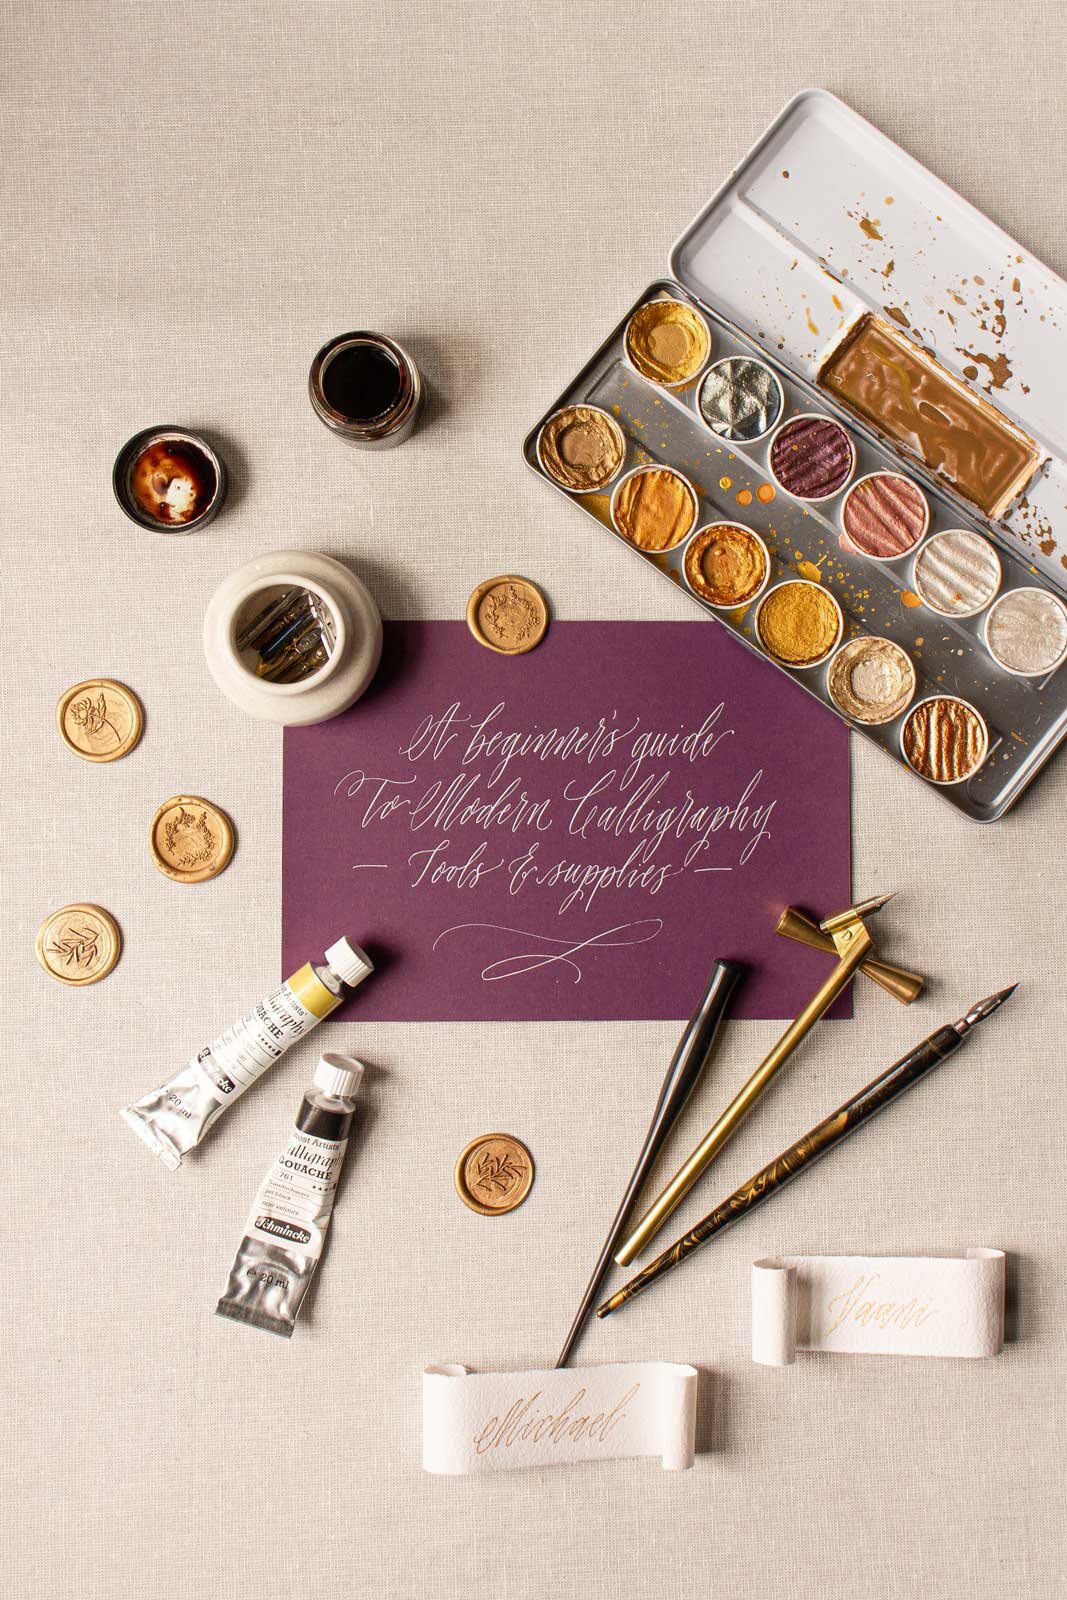
If you would love to start creating beautiful calligraphy with a pointed nib and ink but feel unsure which tools you need to get started, then this is the post for you. When I first embarked on my journey with calligraphy I remember getting quite overwhelmed with all the options for inks, nibs and penholders. I spent a lot of time and money on testing tools and figuring out which worked really well for me and my practice. So I wanted to put together a post with the tools I think are great for calligraphy beginners. Plus a few extras, because who doesn’t love a beautiful sparkling gold ink!

The essential kit

There’s so many beautiful calligraphy tools out there. But there’s only a few that are essential to start your practice. A nib, a penholder, an ink, paper and guide sheets.

Nibs

There’s lots of nibs out there and you’ll probably find you like some more than others. It really depends on your technique and I favour different ones for different materials and styles. But for beginners there’s two that I think are absolutely brilliant.

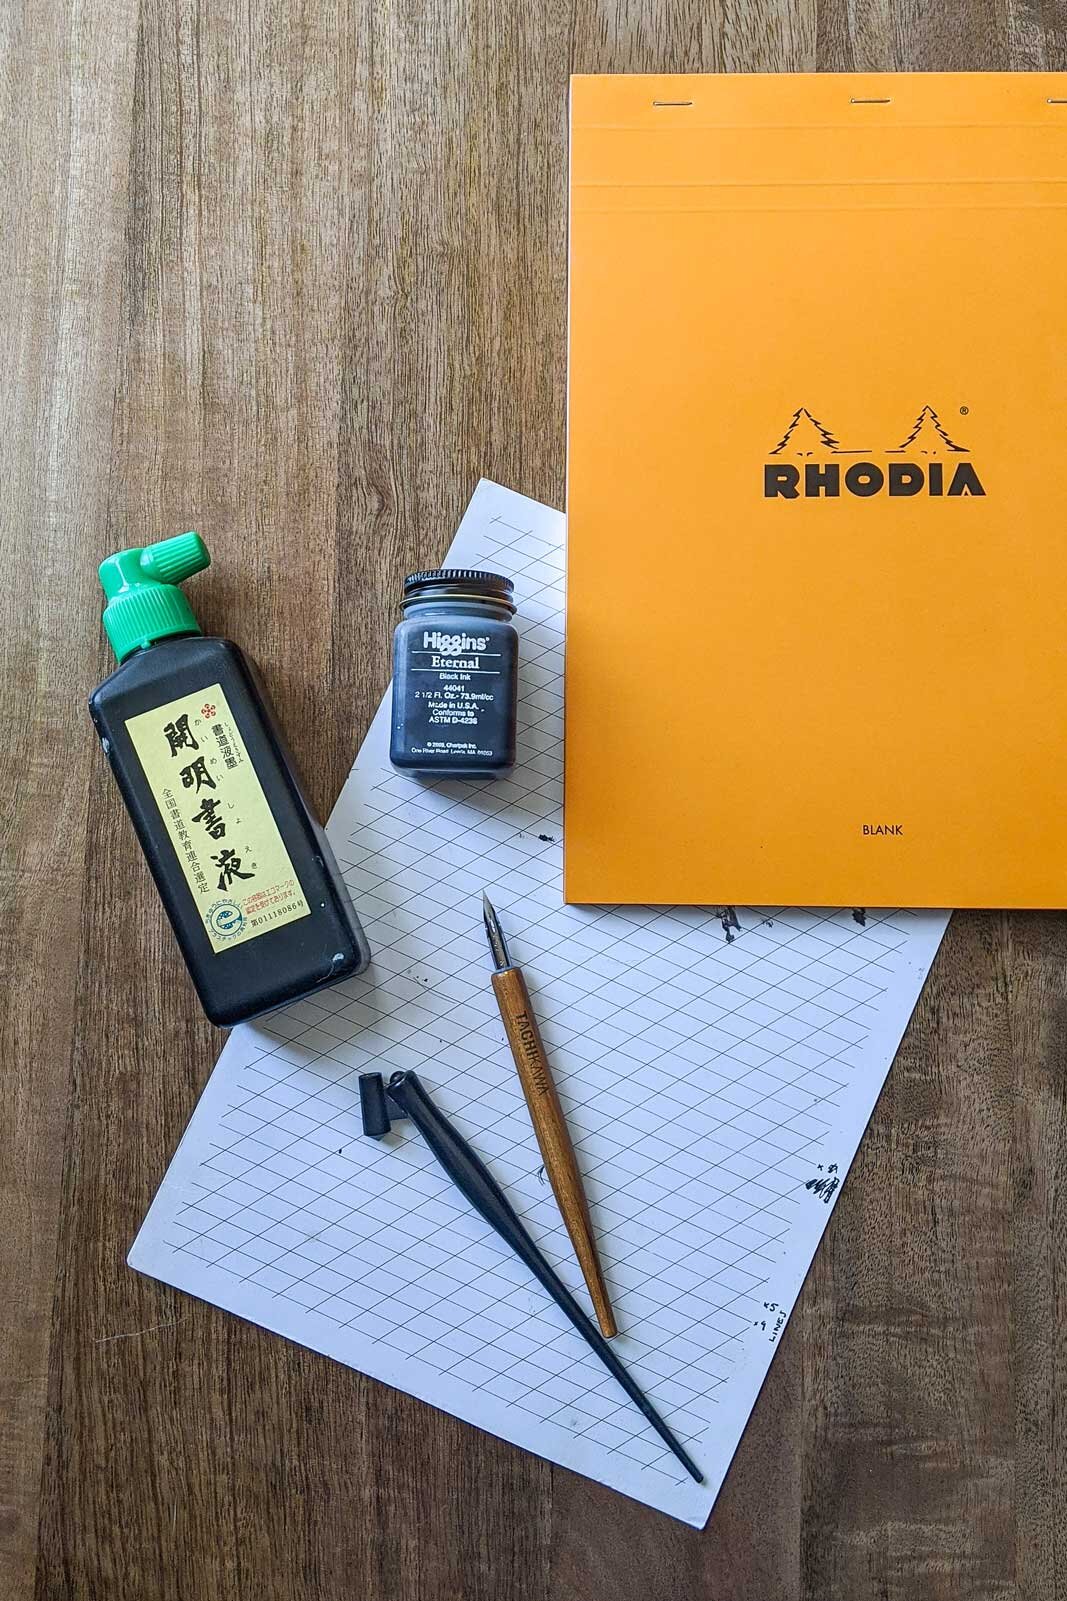
Nikko G – https://scribblers.co.uk/product/nikko-g-nib/?ref=9 *
This is a Japanese nib that is quite sturdy, making it great for when you start out and are getting a hang of the technique and different angels.

Brause 361 –  https://scribblers.co.uk/product/brause-361-steno-nib/?ref=9 *
Also known as the Blue Pumpkin this nib is more flexible than the Nikko G. Which will give you thicker downstrokes with less pressure and is great fun to play around with and compare to the Nikko G. I like to use it on rougher textures.

Pen holders

There’s two main types of pen holders that you will see, straight holders and oblique holders. I recommend beginners to start with a straight penholder. It’s just a bit more straightforward as it looks more like a “normal pen” and will give you one less angle to think about. Oblique holders are fantastic if you like your script to have a slant. But some people find them a bit tricky to get the hang of initially. Which is why I recommend the straight holder to start, and to then move on to an oblique holder when you’ve got a hang of the technique.

You might find that you like both for different styles while others find they have a clear preference. I also find that a lot of the left handed calligraphers I’ve taught prefer to use a straight pen holder for both straighter and more slanted scripts.


Straight holders

Speedball pen holder –  https://scribblers.co.uk/product/speedball-penholder/?ref=9 *
A great budget friendly option.

Cork tip pen holder – https://scribblers.co.uk/product/cork-tip-penholder/?ref=9 *
If you do a lot of calligraphy I find myself reaching for a holder made out of wood or with a cork tip like this one. For me it sits better in my hand and keeps me comfortable writing for longer.


Oblique holders

Oblique pen holder with a metal flange – https://scribblers.co.uk/product/plastic-oblique-pen-holder-with-metal-flange/?ref=9 *
For oblique holders I recommend using one with a metal flange. Because it’s made out of metal you can adjust the flange for your nib to fit properly, making for smoother writing. The downside to this is that if you’re left handed you need to get one that is made to be used for left handed calligraphers so make sure to check that before you buy one.

Speedball oblique pen holder – https://scribblers.co.uk/product/oblique-penholder/?ref=9 *
A great budget friendly option that works for both right and left handed calligraphers.

Ornamental wooden oblique pen holder – https://scribblers.co.uk/product/ornamental-wooden-oblique-holder-with-metal-flange/?ref=9 *
As with the straight holders I tend to use one that is made out of wood as I find it more comfortable.

Inks

Higgins Eternal Ink – https://scribblers.co.uk/product/higgins-eternal-ink-74ml/?ref=9 *
A very popular ink here in the UK. It’s lovely a smooth to write with and quite thin which helps with creating fine hairlines (upstrokes). I do find it can bleed on some papers though so make sure to test it before you start a new project.

Sumi Ink – https://scribblers.co.uk/product/kuretake-sumi-ink-60ml/?ref=9 * or https://www.amazon.co.uk/Moon-Palace-Sumi-Ink-180/dp/B001C70A8W/ref=asc_df_B001C70A8W/?tag=googshopuk-21&linkCode=df0&hvadid=309883060481&hvpos=&hvnetw=g&hvrand=2795338490023970195&hvpone=&hvptwo=&hvqmt=&hvdev=c&hvdvcmdl=&hvlocint=&hvlocphy=9045891&hvtargid=pla-393429025383&psc=1
A lovely ink that I find flows smoothly, dries darker than the Higgins Eternal ink and works on most papers I’ve used. Some sumi inks (like the Kuretake linked above) are also waterproof which is great for envelopes.

Paper

Rhodia pad (plain) – https://scribblers.co.uk/product/rhodia-head-stapled-pad-a4-plain/?ref=9 *
A gorgeously smooth paper that I love for practice and calligraphy that I scan in for invitations. It’s transparent enough that I can slip a guide sheet underneath for easy practice.

Rhodia pad (dotted) – https://scribblers.co.uk/product/rhodia-head-stapled-pad-a4-plain/?ref=9 *
As lovely as the paper above but with a dot grid. Great if you want to work straight on the paper and not have to worry about using a guide underneath the paper.

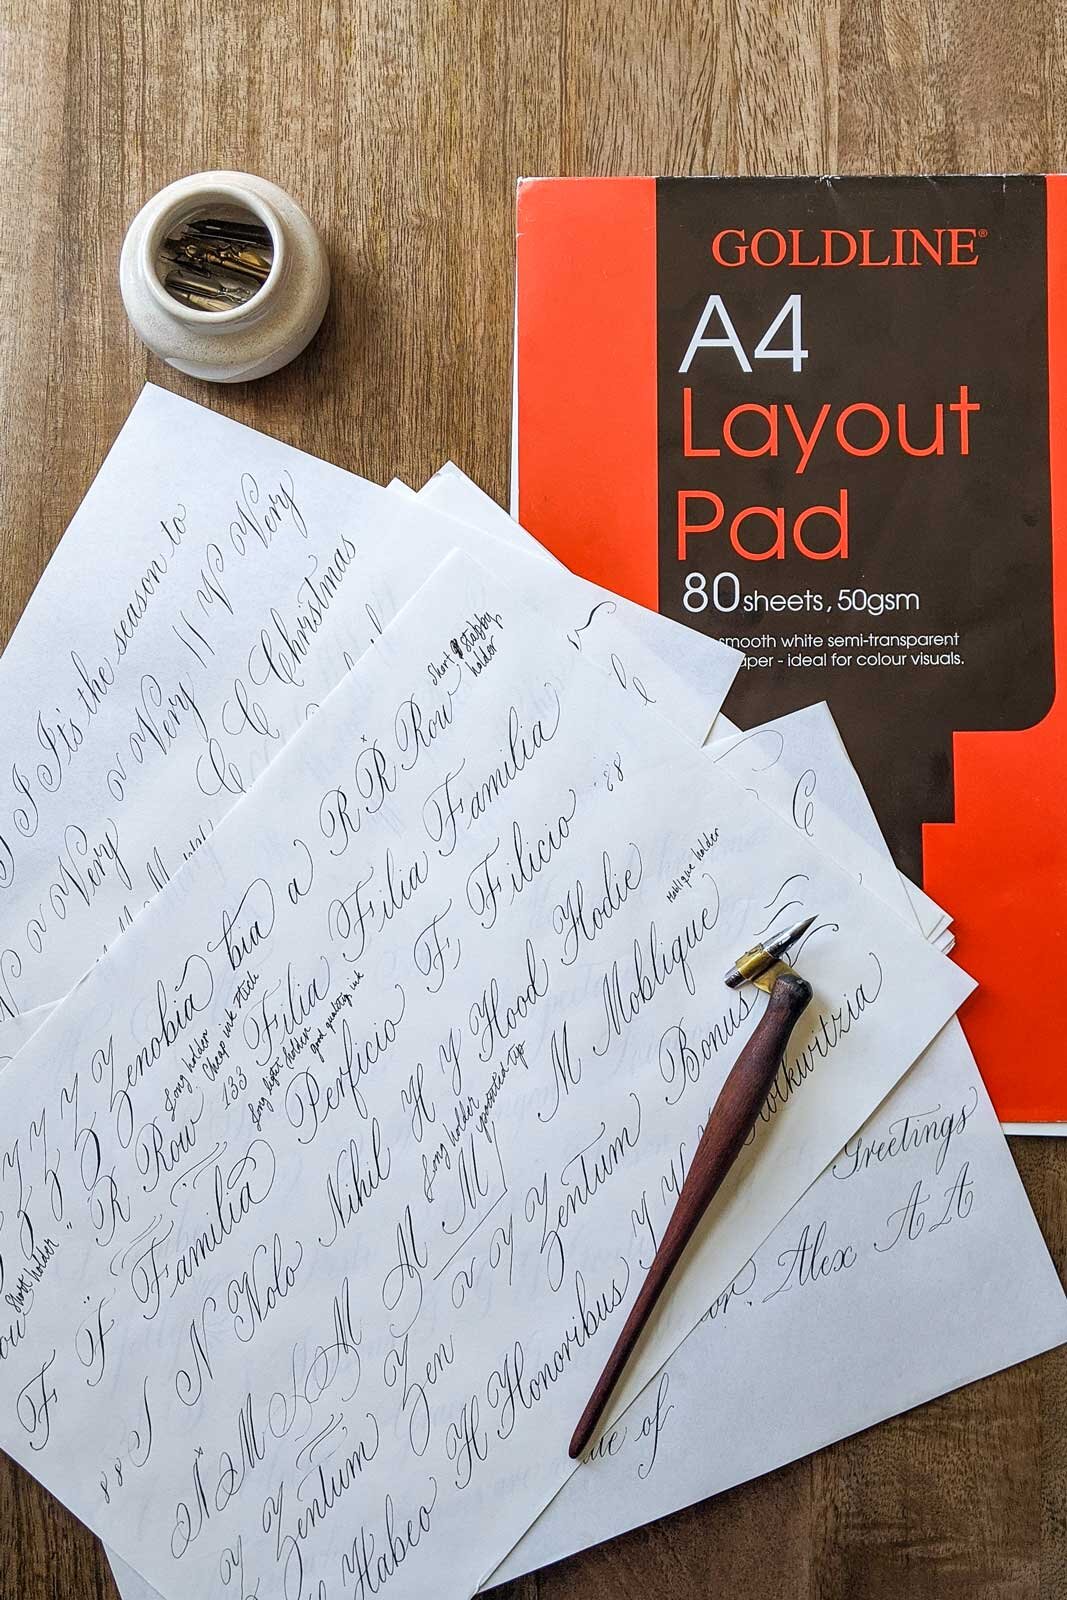
Layout paper – https://scribblers.co.uk/product/goldline-a4-layout-paper/?ref=9 *
Great for both practice and to create a design as you can easily layer the paper on top of another sheet and refine your design. I like the Goldline layout pad as I find the weight enough to work with the inks I use without bleeding.

Printer paper – https://www.amazon.co.uk/gp/product/B000H80CXA/ref=ppx_yo_dt_b_search_asin_title?ie=UTF8&psc=1
Printer paper can be great, especially if you like printing your guides and working on top of them. Some printer papers will not be good enough quality to work but I’ve found that this HP Color Choice Laser Paper works great with ink and nibs for me.

Online courses, guidesheets and guidelines

Modern Calligraphy for beginners - Online course
Learn the beautiful art of calligraphy with my online course. Aimed at complete beginners and beyond you will learn how to set up your tools correctly, how to create basic strokes, letters, beautiful words and more. I will also take you through my process of creating a calligraphy artwork so you can create a stunning piece of calligraphy art for your own wall or to create a wonderfully personal gift for someone.

Modern Calligraphy Beginner’s Guide - Digital Worksheets
A 12 page downloadable guide designed to take you from your first calligraphy strokes through to creating beautiful words. Perfect to download and get started straight away!

IAMPETH have a couple of different guidelines for different styles available to download here: https://www.iampeth.com/collection/guide-sheets

Scribblers have a guideline generator with adjustable size toggles: https://scribblers.co.uk/guideline-generator/

Metallics, white and waterproof ink

If you tire of black ink and want to spice up your practice! Or for all those beautiful projects you have in mind.

Metallic ink

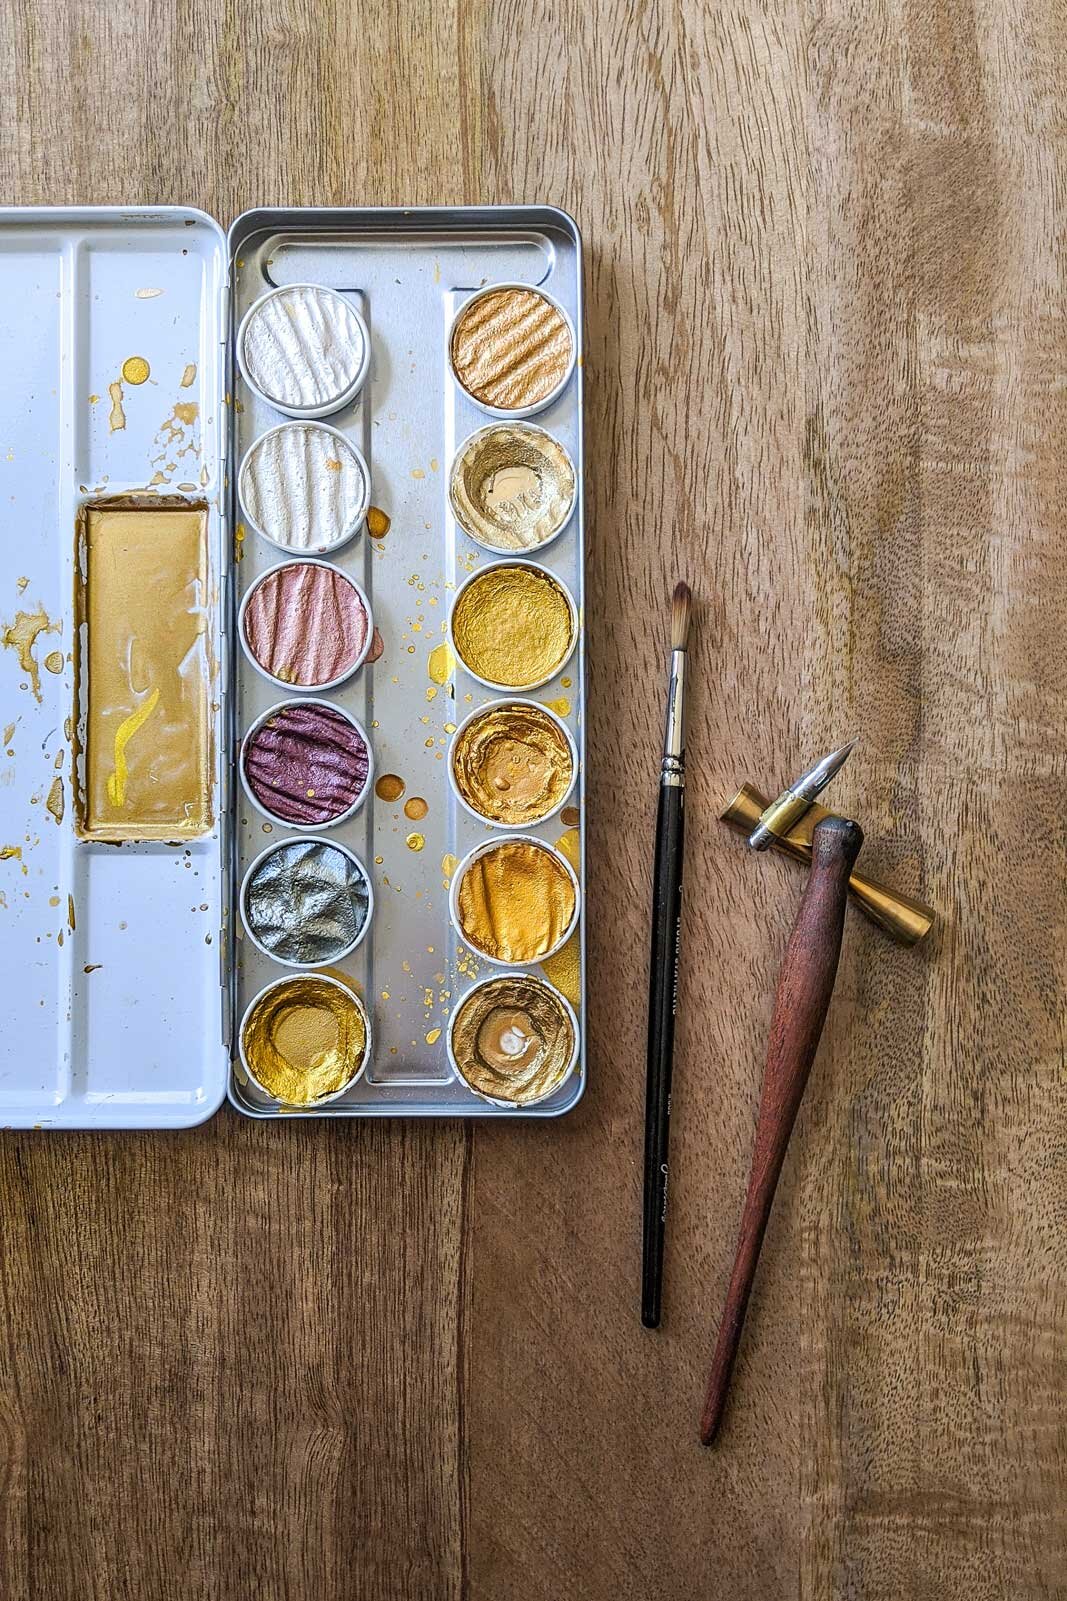
Finetec (Coliro) metallic paints – https://scribblers.co.uk/product/finetec-watercolour-6-pearl-colour-set-m600/?ref=9
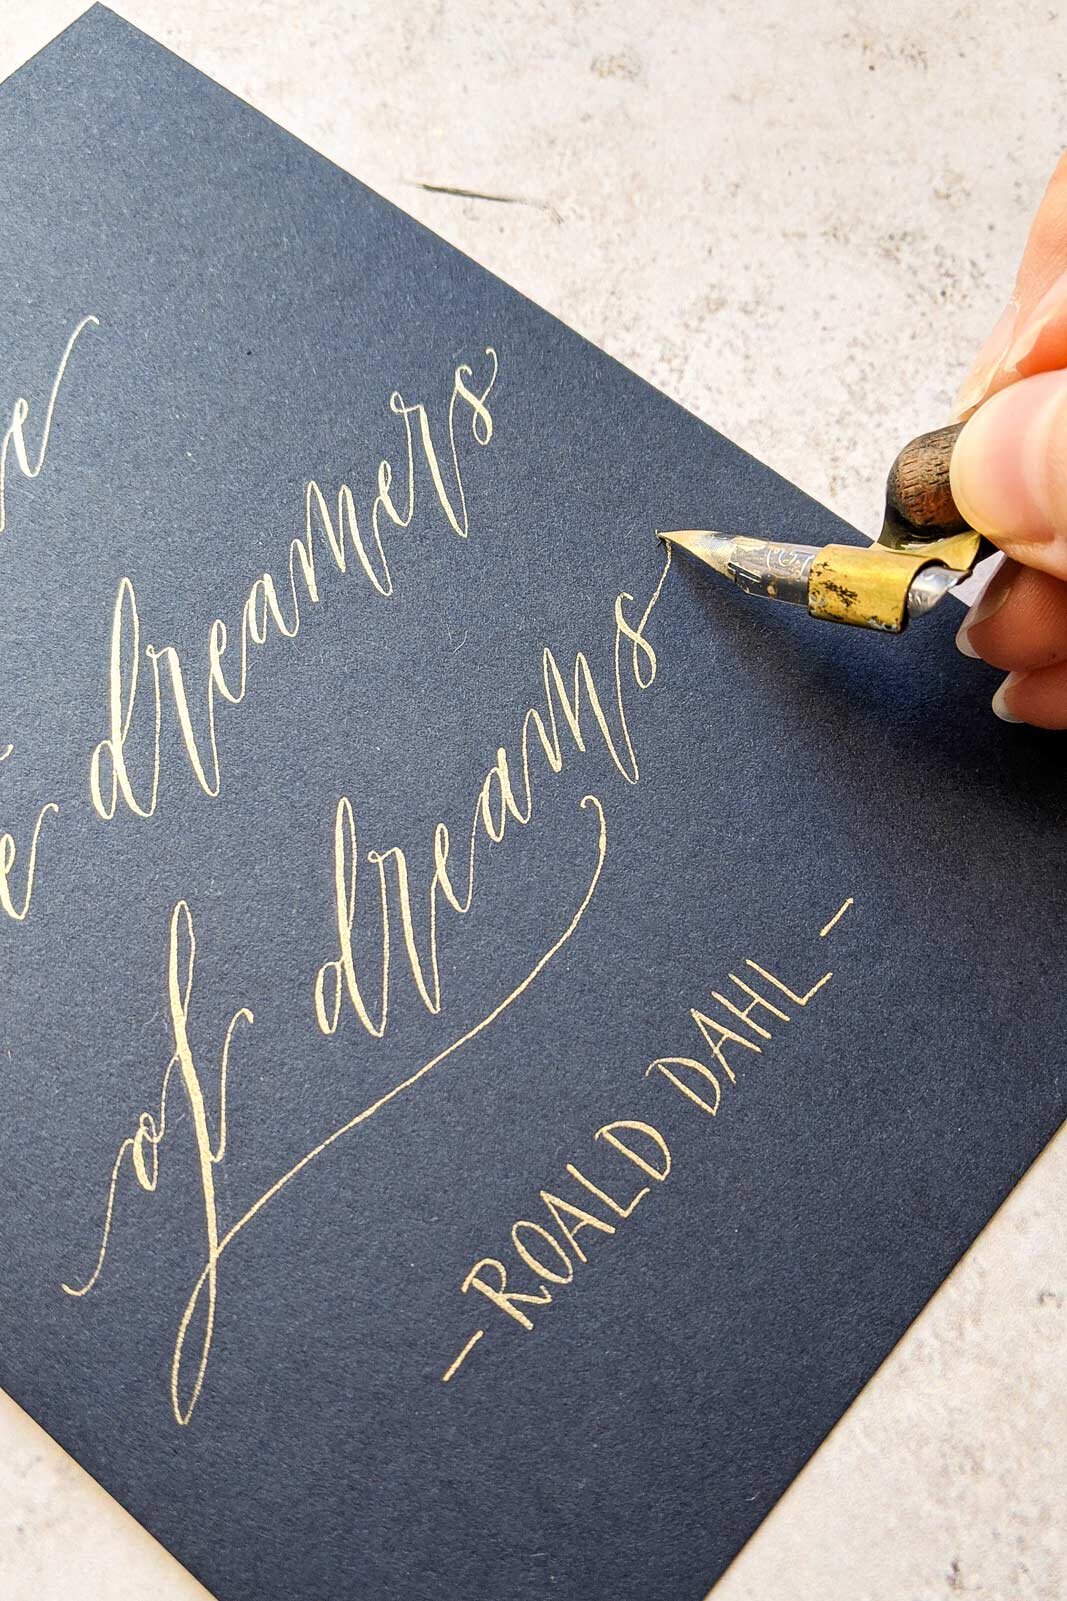
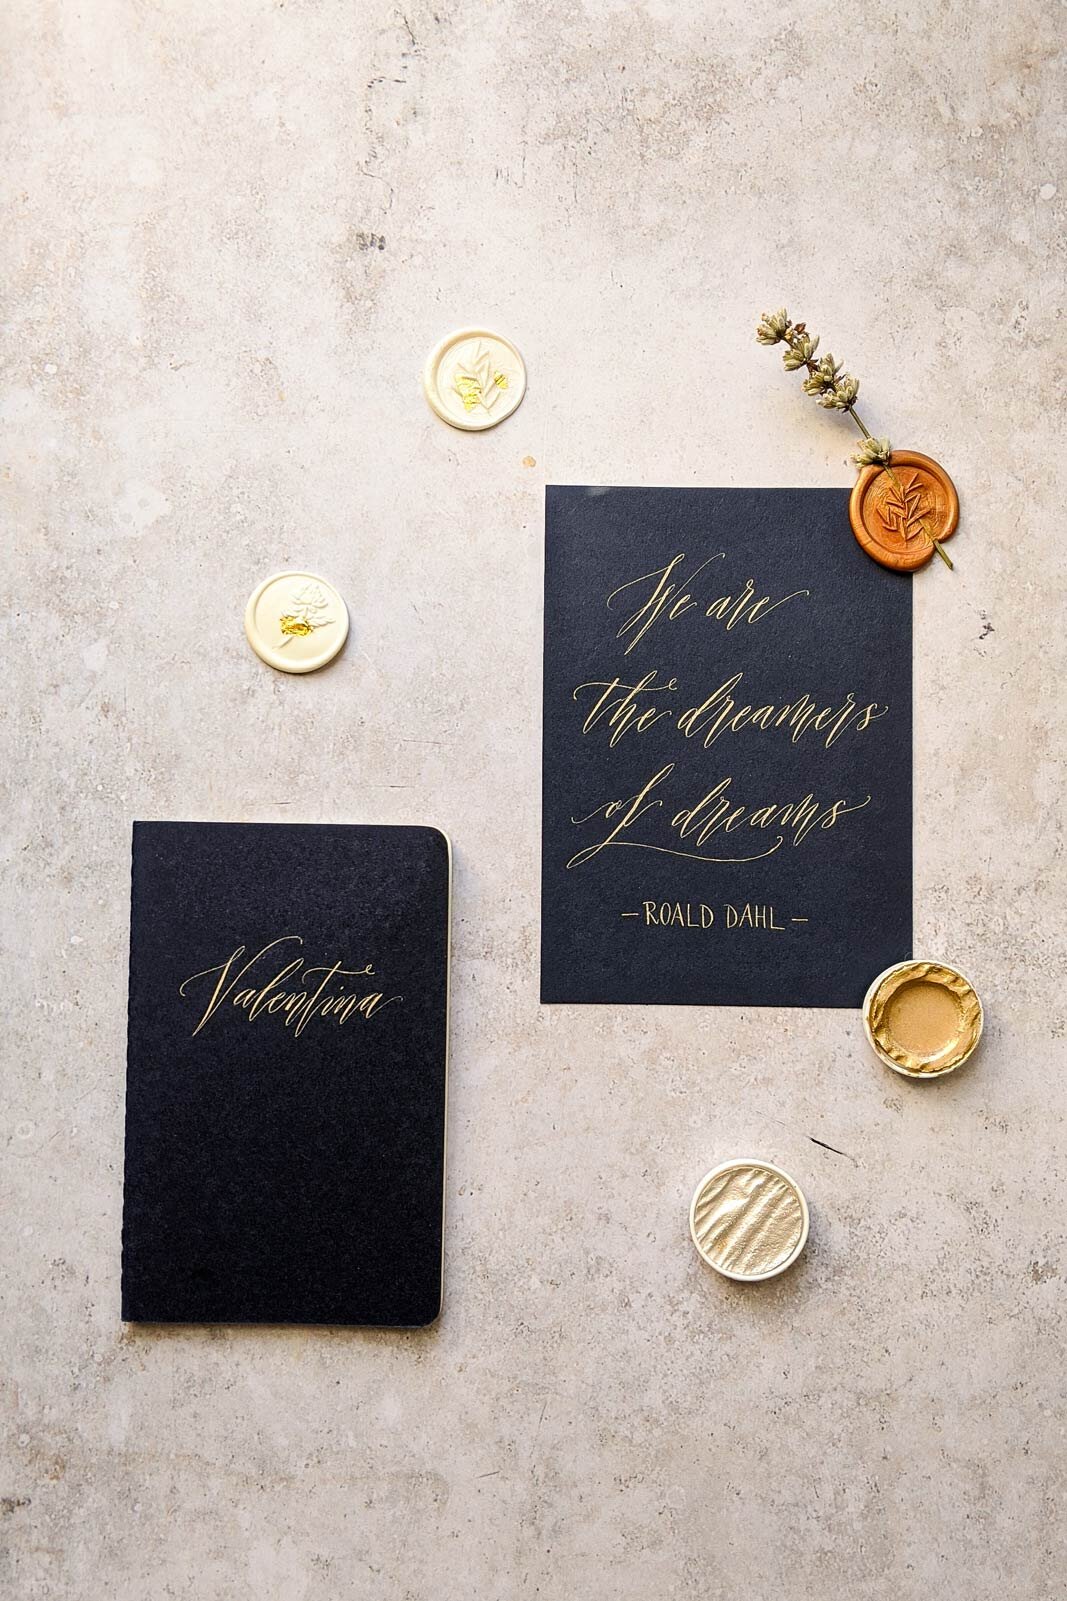
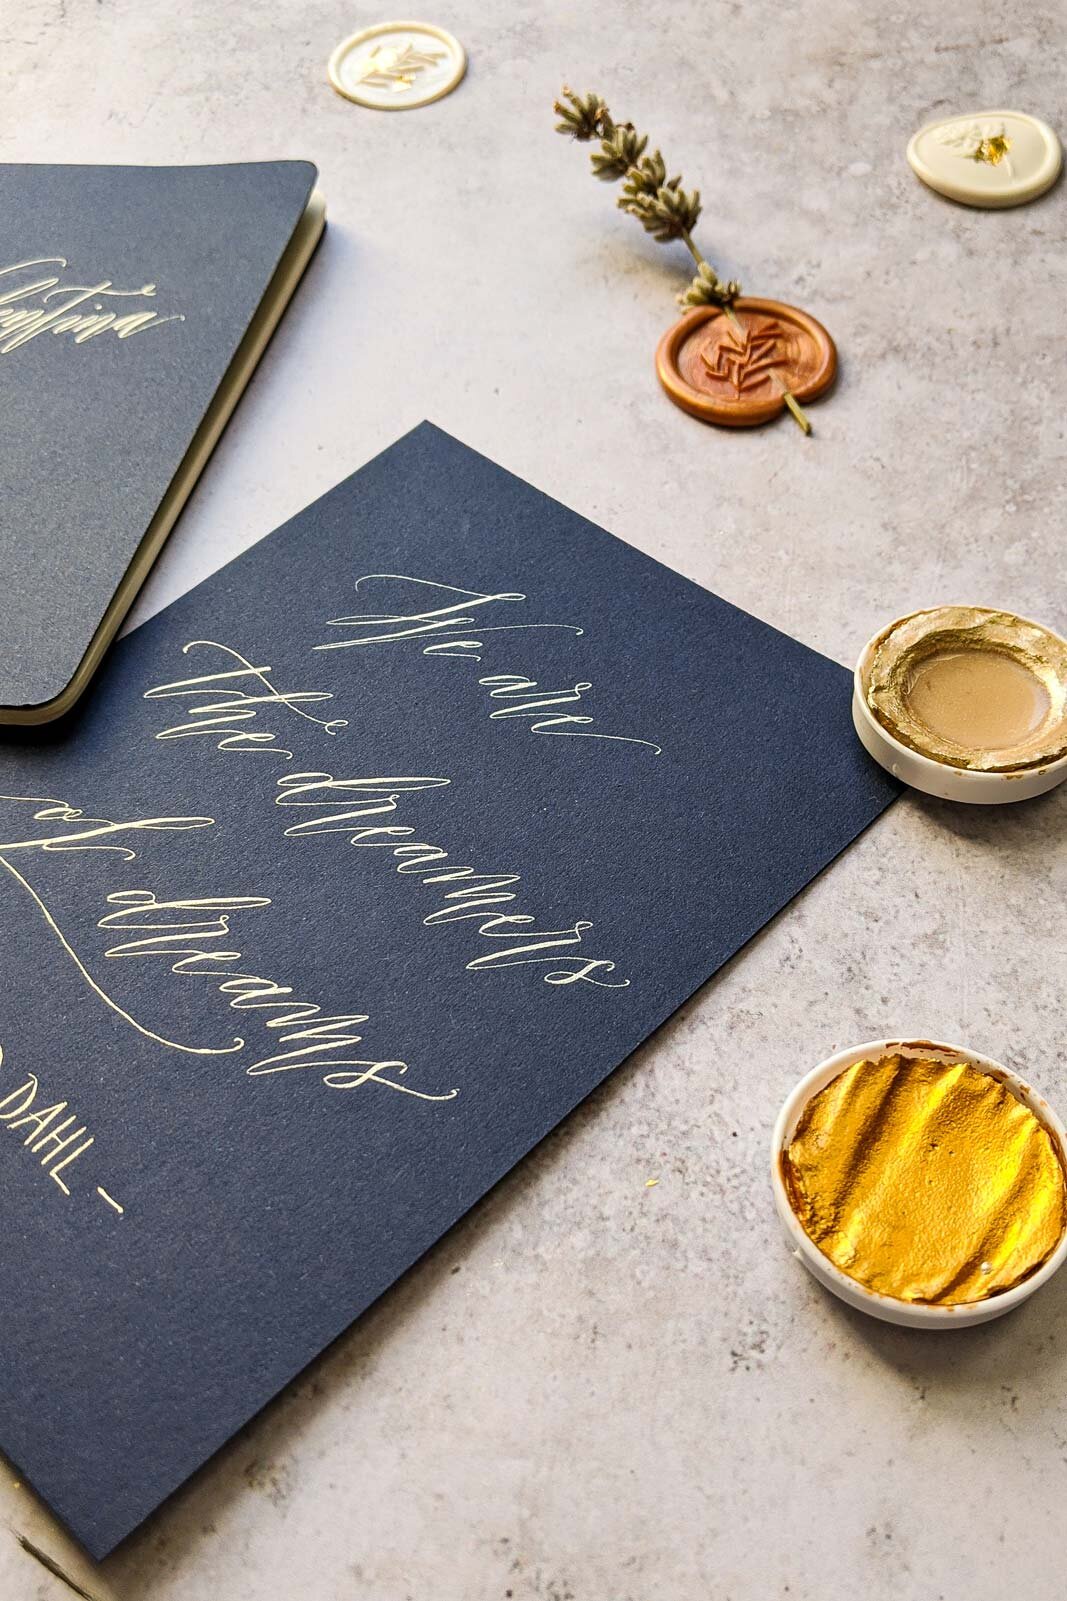
My absolute favourite paints for metallics. They have so many beautiful colour and you can get them in sets. Or you can buy individual refill pans (https://scribblers.co.uk/product-category/paints/finetec-watercolours/fintec-coliro-watercolours/?ref=9 *) to create your own set. I have written a guide for how to use these paints with your pointed nib here.

White ink

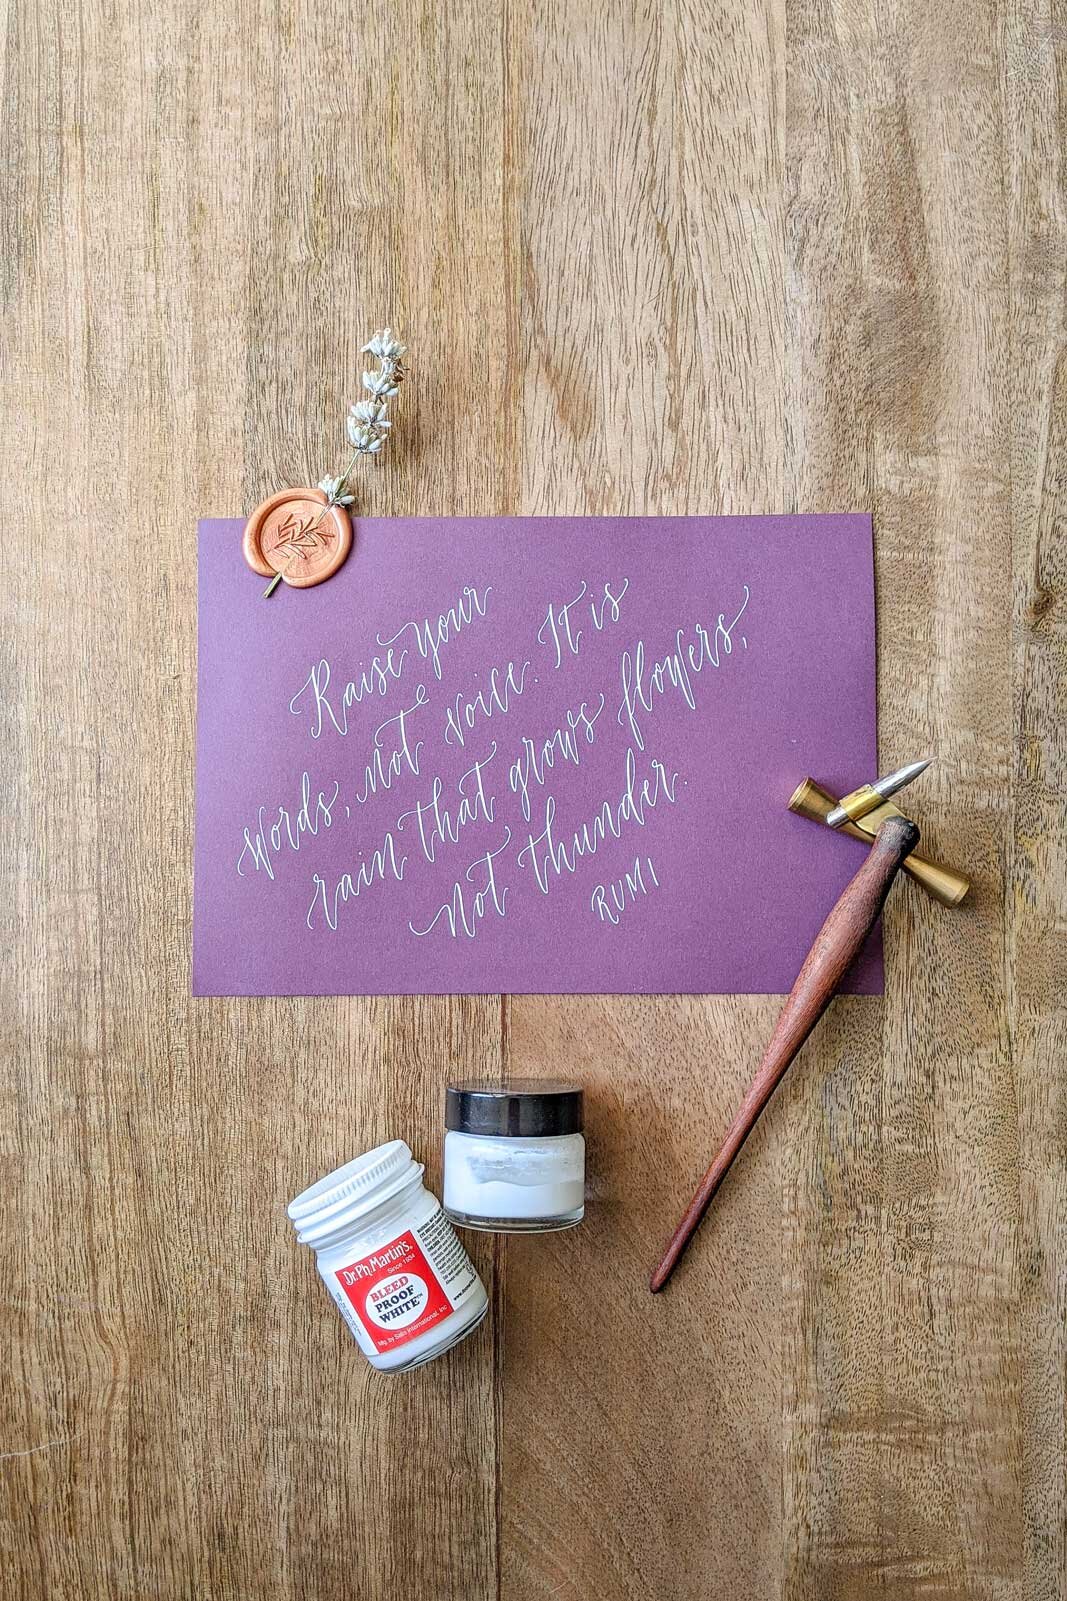
Dr Ph. Martin’s Bleedproof White – https://scribblers.co.uk/product/dr-ph-martins-bleedproof-white-30ml/?ref=9 *
Beautifully opaque white that shows up really well on dark and bright coloured paper. It comes as a paste so you do need to scoop out some product and add a bit of water before you can use it but the extra effort is definitely worth it. You’re looking for a whole milk thickness consistency when mixing with water. Start with less water and test until you have a consistency that flows smoothly through your nib and is opaque on your paper.

Mixing different colours

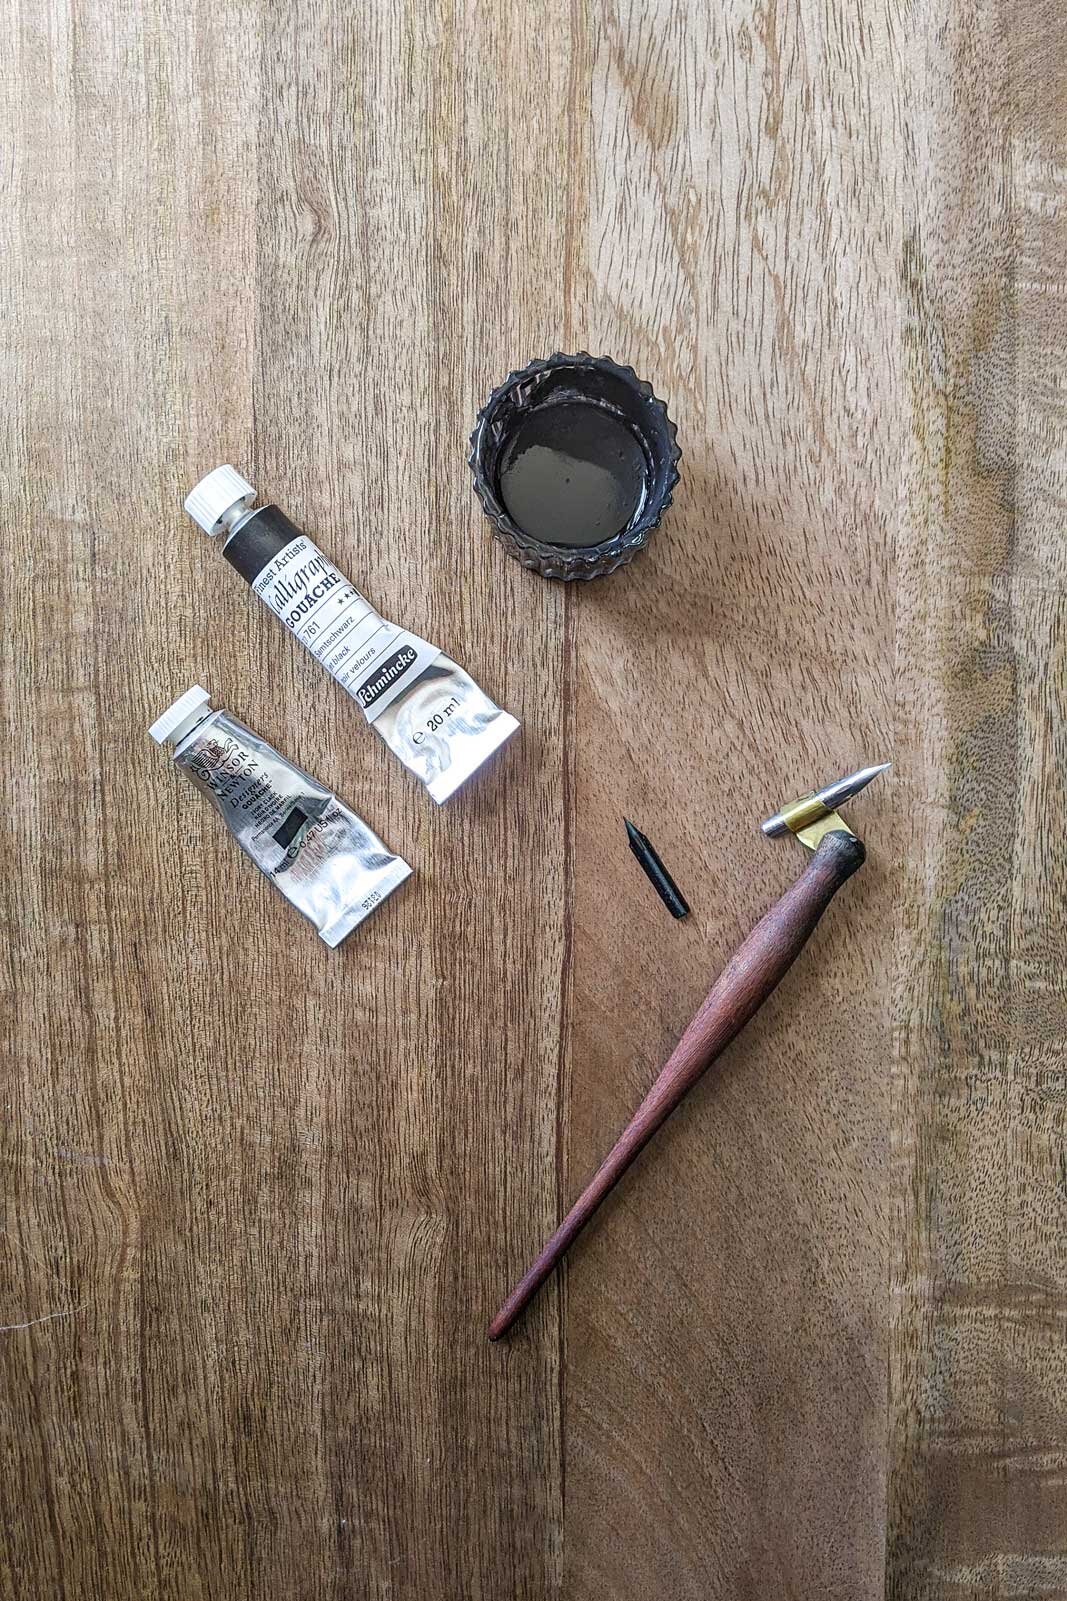
While there’s many colourful inks out there to buy I always mix my own using gouache. This allows me to mix up about any shade I can think of and by using a good quality paint I know my ink will be of really good quality. As with the white ink you’re looking for a whole milk consistency when mixing the paint with water. Start with less water and test until you have a consistency that flows smoothly through your nib.

My favourite gouache brands for calligraphy are:

Winsor & Newton Designers Gouache

Schmincke Finest Artist's Calligraphy Gouache – https://scribblers.co.uk/product/schmincke-calligraphy-gouache-gold-pearl/?ref=9 *

Waterproof ink

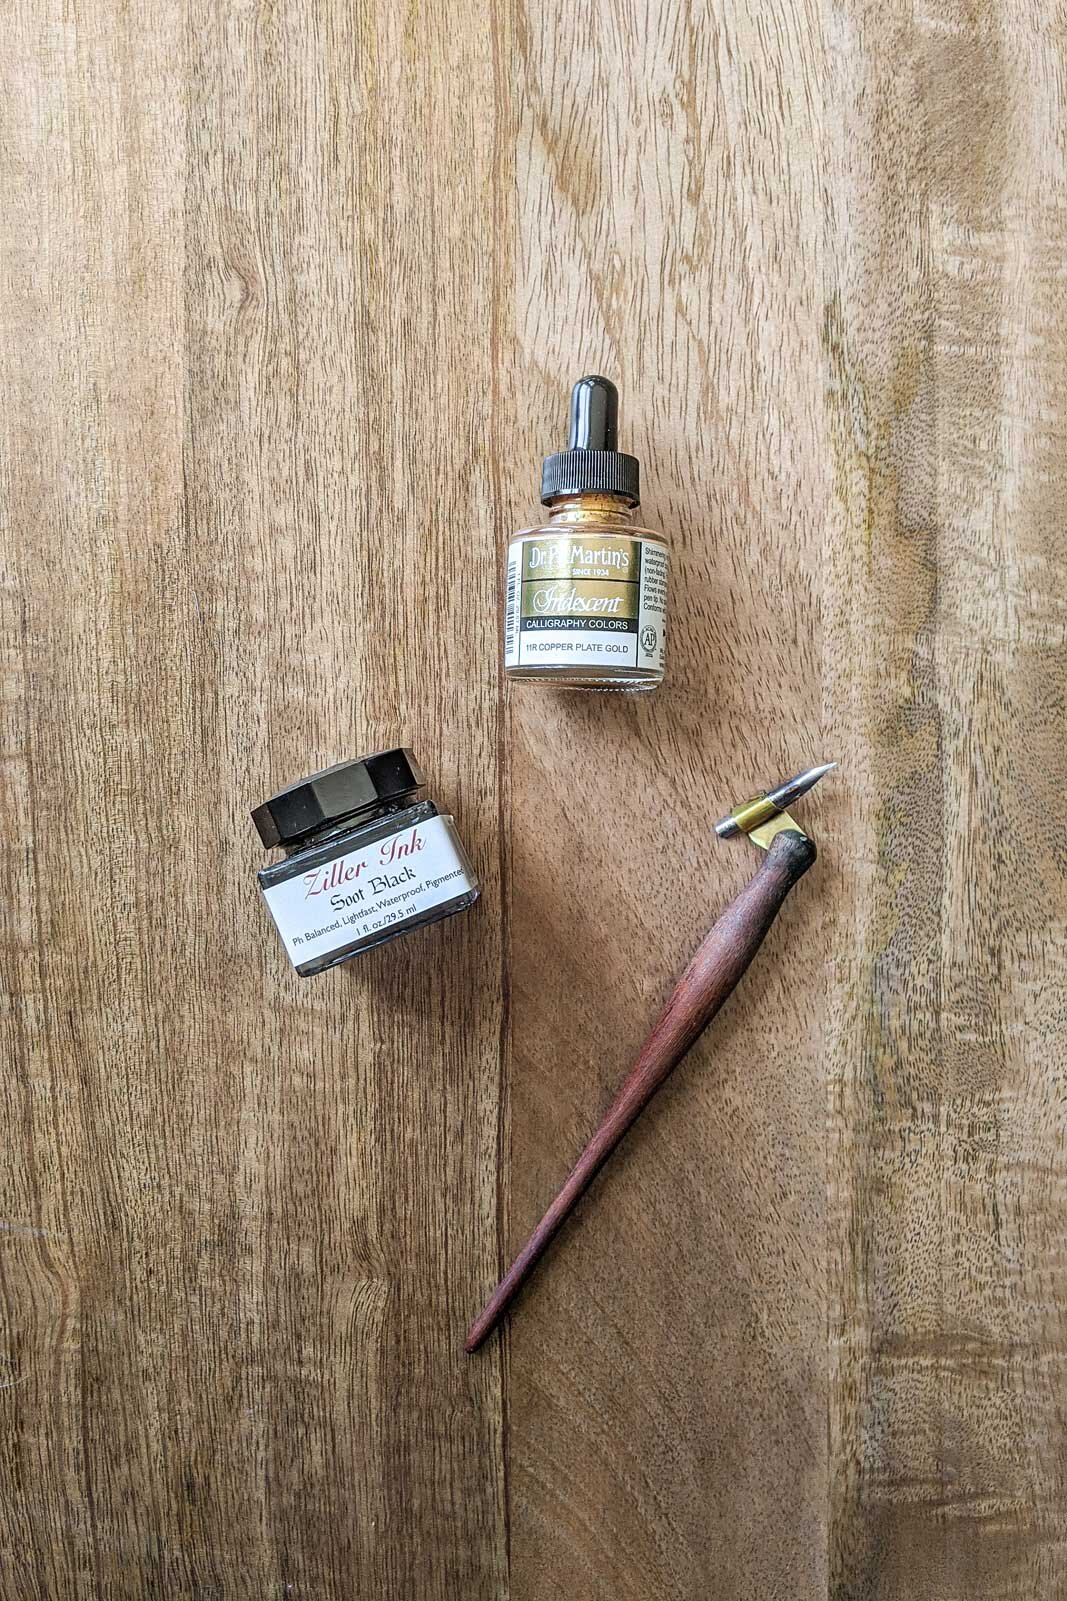
In some instances it’s important that the ink doesn’t budge when it has dried on the paper. For these times I love Ziller ink for colourful shades and Dr Ph Martin's Iridescent inks for metallics.

Matte black – https://scribblers.co.uk/product/ziller-ink-soot-black-28ml-1oz/?ref=9 *

Glossy black – https://scribblers.co.uk/product/ziller-ink-glossy-black-28ml-1oz/?ref=9 *

Gold – https://scribblers.co.uk/product/dr-martins-iridescent-calligraphy-colours-copperplate-gold-30ml/?ref=9 *

Silver – https://scribblers.co.uk/product/dr-martins-iridescent-calligraphy-colours-silver-30ml/?ref=9 *

Just to note that some of the links in this blog post are affiliate links and marked with a *. I would never let this impact which tools I recommend, I’m only sharing my absolute favourites here and Scribblers is my go to shop for most of my calligraphy supplies. But using them means that, to no extra cost to you, you help me keep creating inspiring and helpful content for you like this guide.


I hope you’ve found some ideas for the tools you want to get to get started on your calligraphy journey. Remember it’s all about practice and having fun so if getting a bright magenta ink motivates you to practice that is amazing. You will find you like different tools and it’s all about experimenting and enjoying the journey.

If you have any questions, feel free to ask them in the comments. Thank you for reading and enjoy the rest of your day.

Warmly,
Mathilda

Pin for later

 
mathilda-lundin-modern-calligraphy-tools-and-supplies-for-beginners-pinterest.jpg
 

Related posts

My favourite art supplies for floral watercolour painting
 
mathilda-lundin-art-supplies-for-floral-watercolour-painting.jpg
 

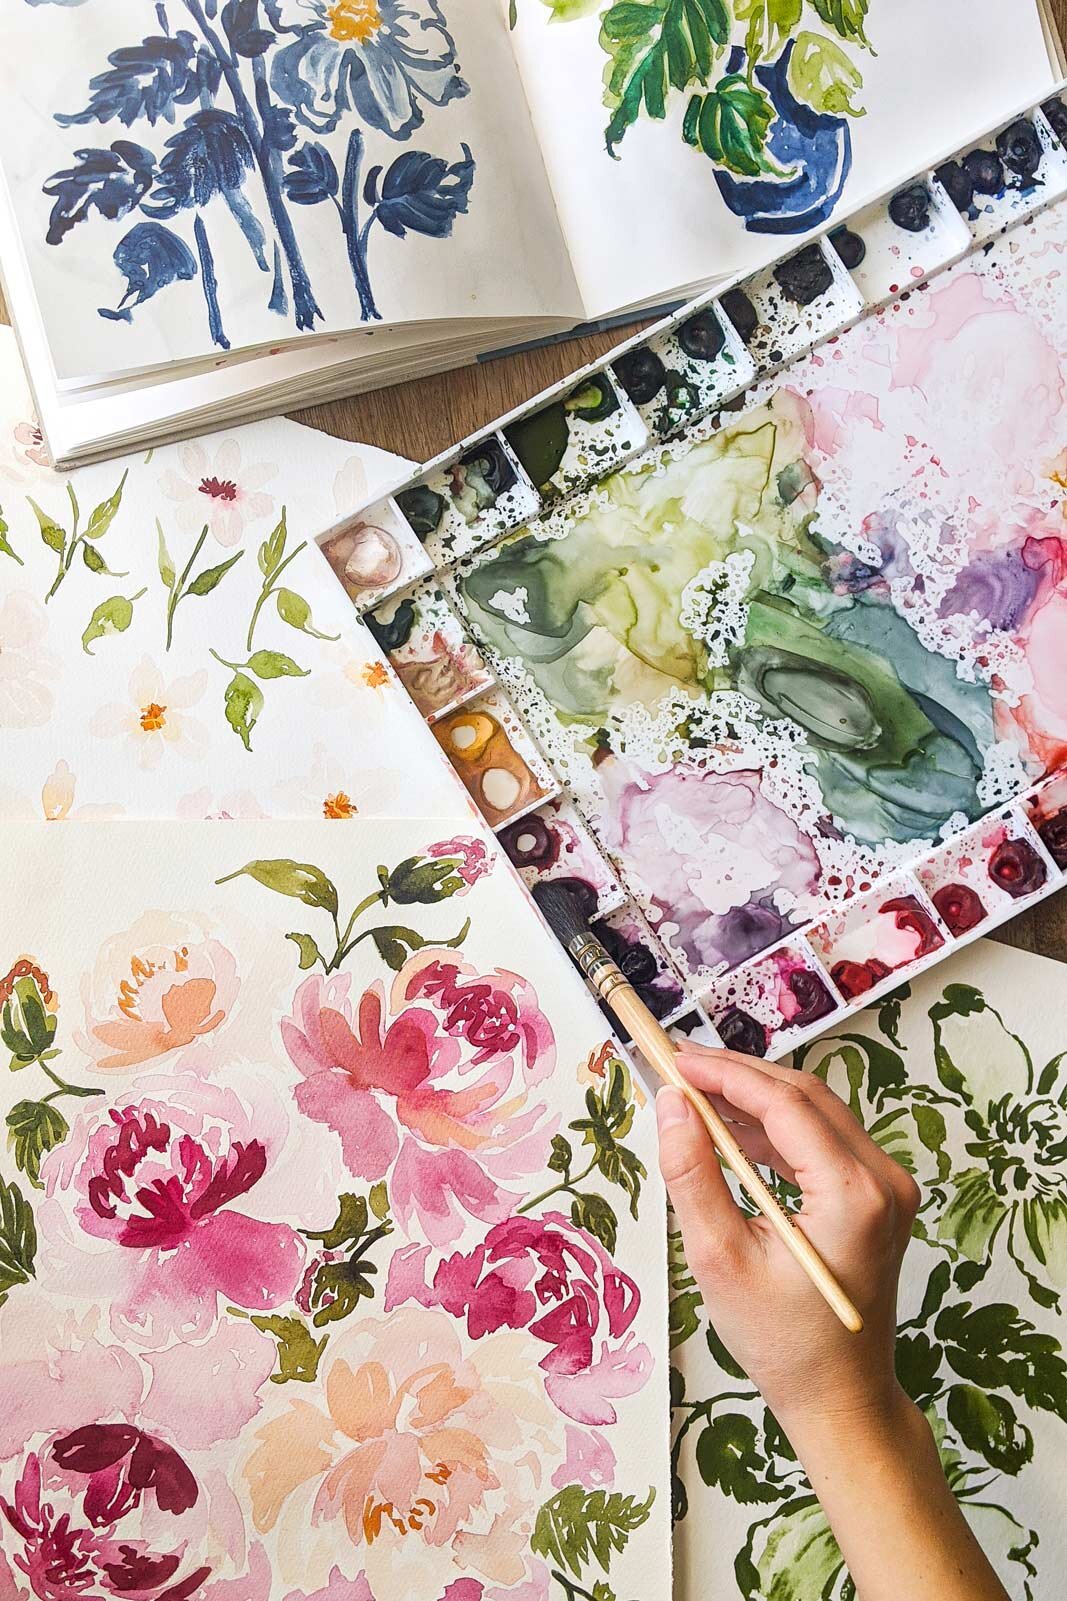
I often get questions about what art materials I use for my floral paintings, so I thought I’d list some of my favourites here. I’m a firm believer that part of finding your style is experimenting with different materials so I hope you’ll find some supplies you love here. I’ll write a bit about the tools I love in each section and link to the specific tools I’m talking about below.

Just to note that some of the links in this blog post are affiliate links. I would never let this impact which tools I recommend, I’m only sharing my absolute favourites here. But using them means that, to no extra cost to you, you help me keep creating inspiring and helpful content for you like this guide.

WATERCOLOUR & GOUACHE PAINTS & PALETTES

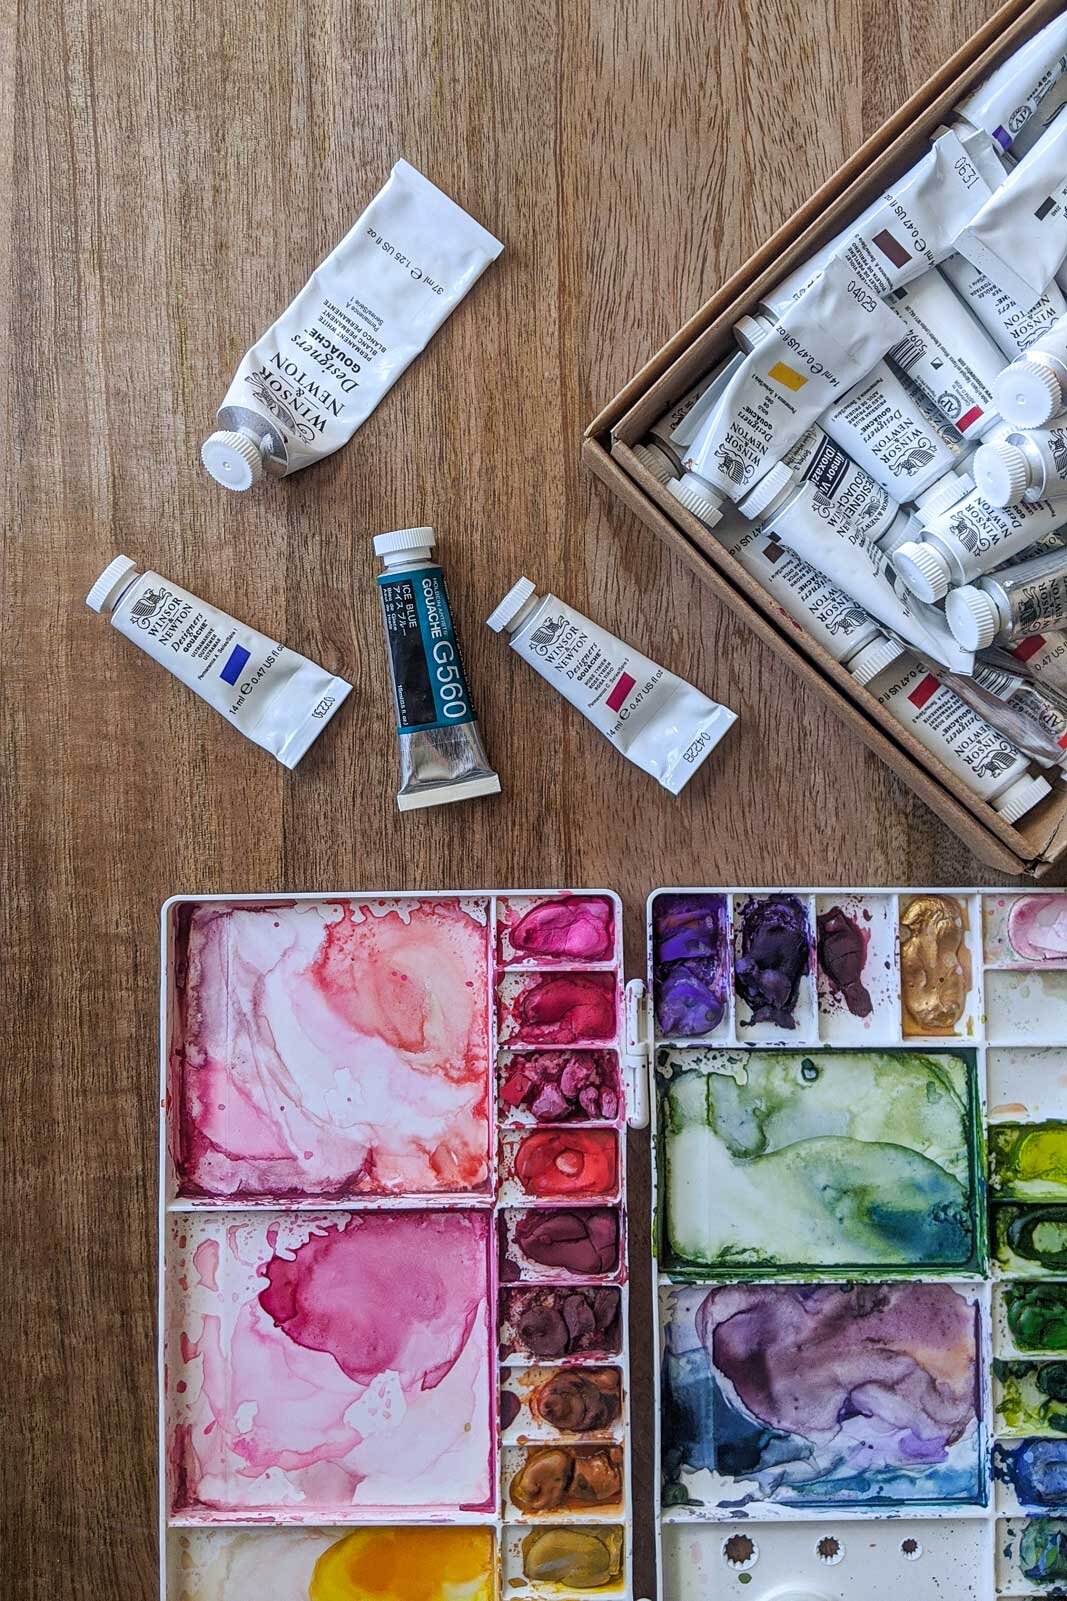
For watercolour I love the paints from Winsor & Newton and Daniel Smith and tend to use only the professional artist quality paints. They cost quite a lot more than the Winsor & Newton Cotman range but the pigment is so much richer (which means I don’t need as much pigment) and the paint goes on smoother. That said, if you’re just starting out or don’t want to splurge the Cotman series is a wonderful more budget friendly alternative. For gouache I pretty much only use Winsor & Newton Designer Gouache.

With paints you can either buy them as tubes or pans. When I started out with watercolours I got a palette with pans from Winsor & Newton and it was an excellent starting point. You get a palette with colours to get started straight away and they’re very easy to transport. If you like to paint quite small I find these work well with a small brush and I still like to use these when I travel.

But my absolute favourite way to work is to buy paints in tubes and create my own palettes. I simply fill the empty pans with the colours of my choice from the tube and then let them sit to dry over night. I find drying them this way before using them by re-wetting them helps me control the amount of paint I pick up with my brush. For my looser florals I love using large brushes and want lots of space for mixing colours. I love using my John Pike palette for these. For my more detailed botanical paintings I have a smaller palette. I love this method so much I have done the same with a palette of gouache.

Paints (tubes & Pans)

Winsor & Newton Professional Watercolour Paint

Winsor & Newton Cotman Watercolour

Daniel Smith Watercolour Paints

Winsor & Newton Designers Gouache

Palettes

John Pike Watercolour Palette (my large palette)

Mijello Palette (my smaller palette)

Winsor & Newton Professional Quality 24 Half Pan Set

Winsor & Newton Cotman 14 Half Pan Set

BRUSHES & PENCILS FOR SKETCHING

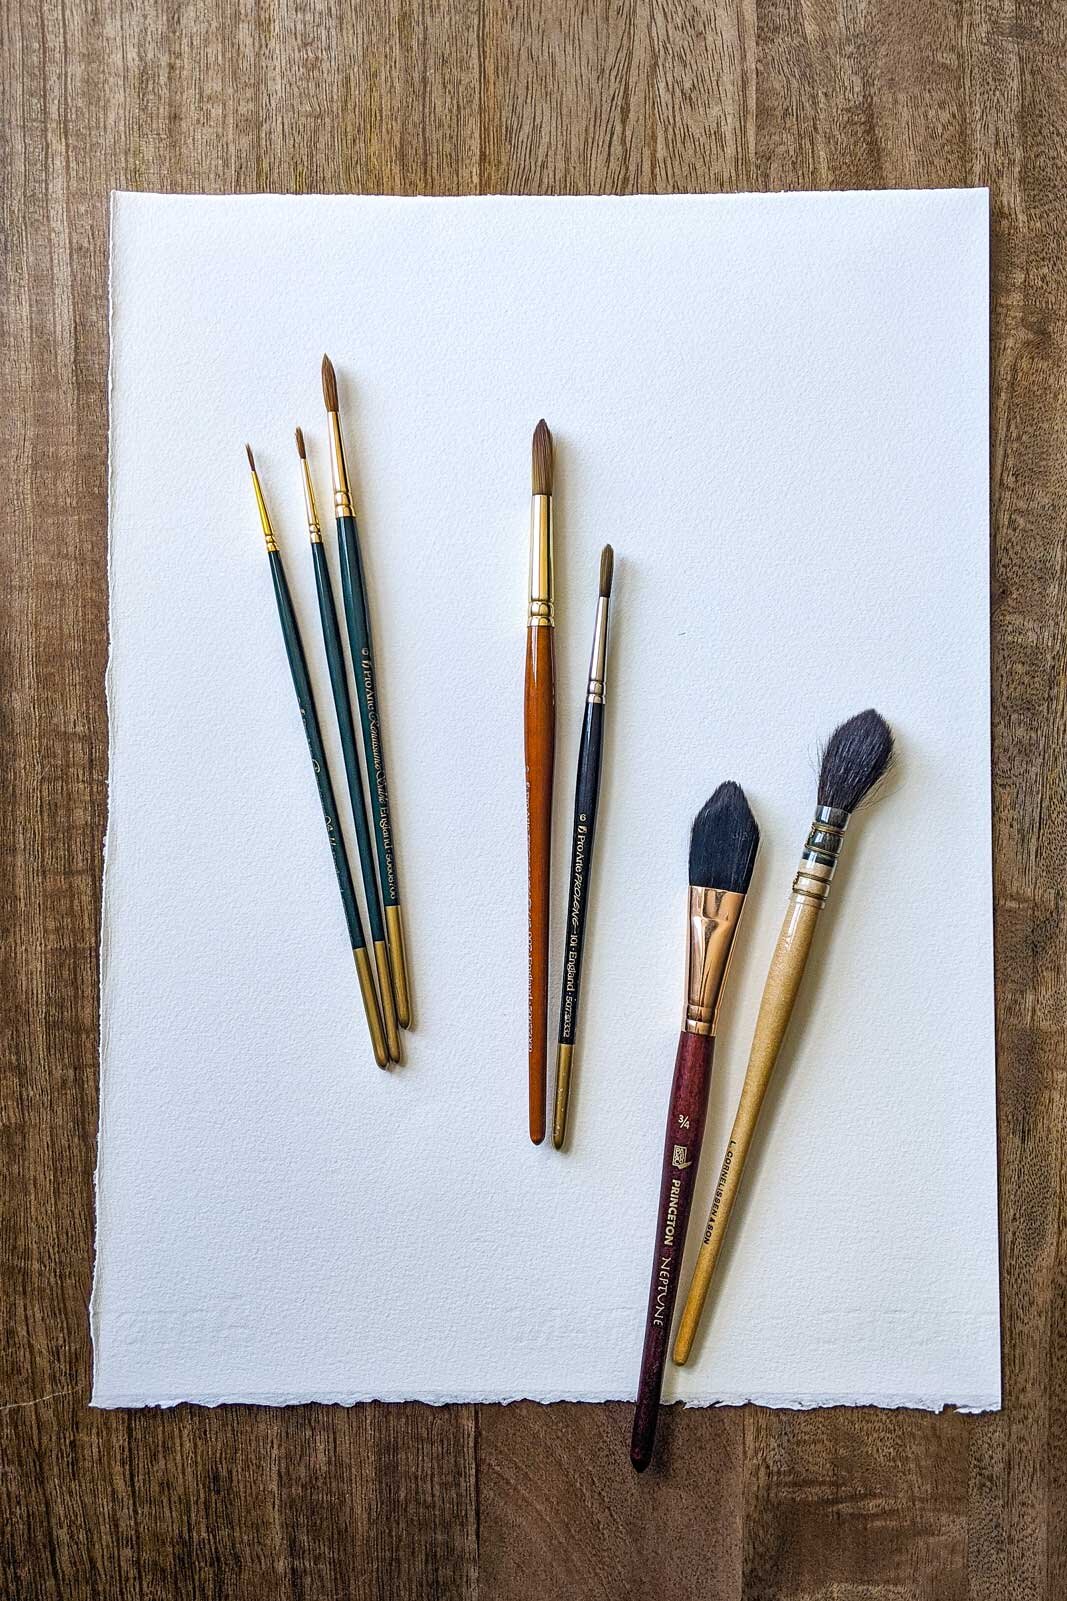
For brushes I think a couple of round brushes should be part of your essential kit. Then I like to add a couple of different styles that I can use for different types of mark making in my paintings. I like using the Pro Arte Renaissance Sable brushes in smaller sizes (from 3/0 to about 6) for more detailed paintings. For my looser paintings I have a range or larger brushes ranging from synthetic alternatives to a beautiful Da Vinci quill mop style brush. In general smaller brushes tend to be easier to control but I love the larger ones for looser styles. For me these are so much about trying some different ones and finding what you enjoy using. I’m linking some of my favourites below.

Round brushes (a great set of sizes for more detailed or smaller paintings)

Pro Arte: Renaissance Sable Watercolour Brush Size 3/0 (for the teeniest of details)

Pro Arte: Renaissance Sable Watercolour Brush Size 0

Pro Arte: Renaissance Sable Watercolour Brush Size 2

Pro Arte: Renaissance Sable Watercolour Brush Size 4

Pro Arte: Renaissance Sable Watercolour Brush Size 6

Larger brushes for loose florals

Pro Arte: Prolene Plus Size 10

Princeton Neptune: Oval Wash Size 1/2 in

Princeton Neptune: Oval Wash Size 3/4 in

Da Vinci: Petit Gris Pur Size 4 (mop style brush)

My favourite pencils and fountain pen

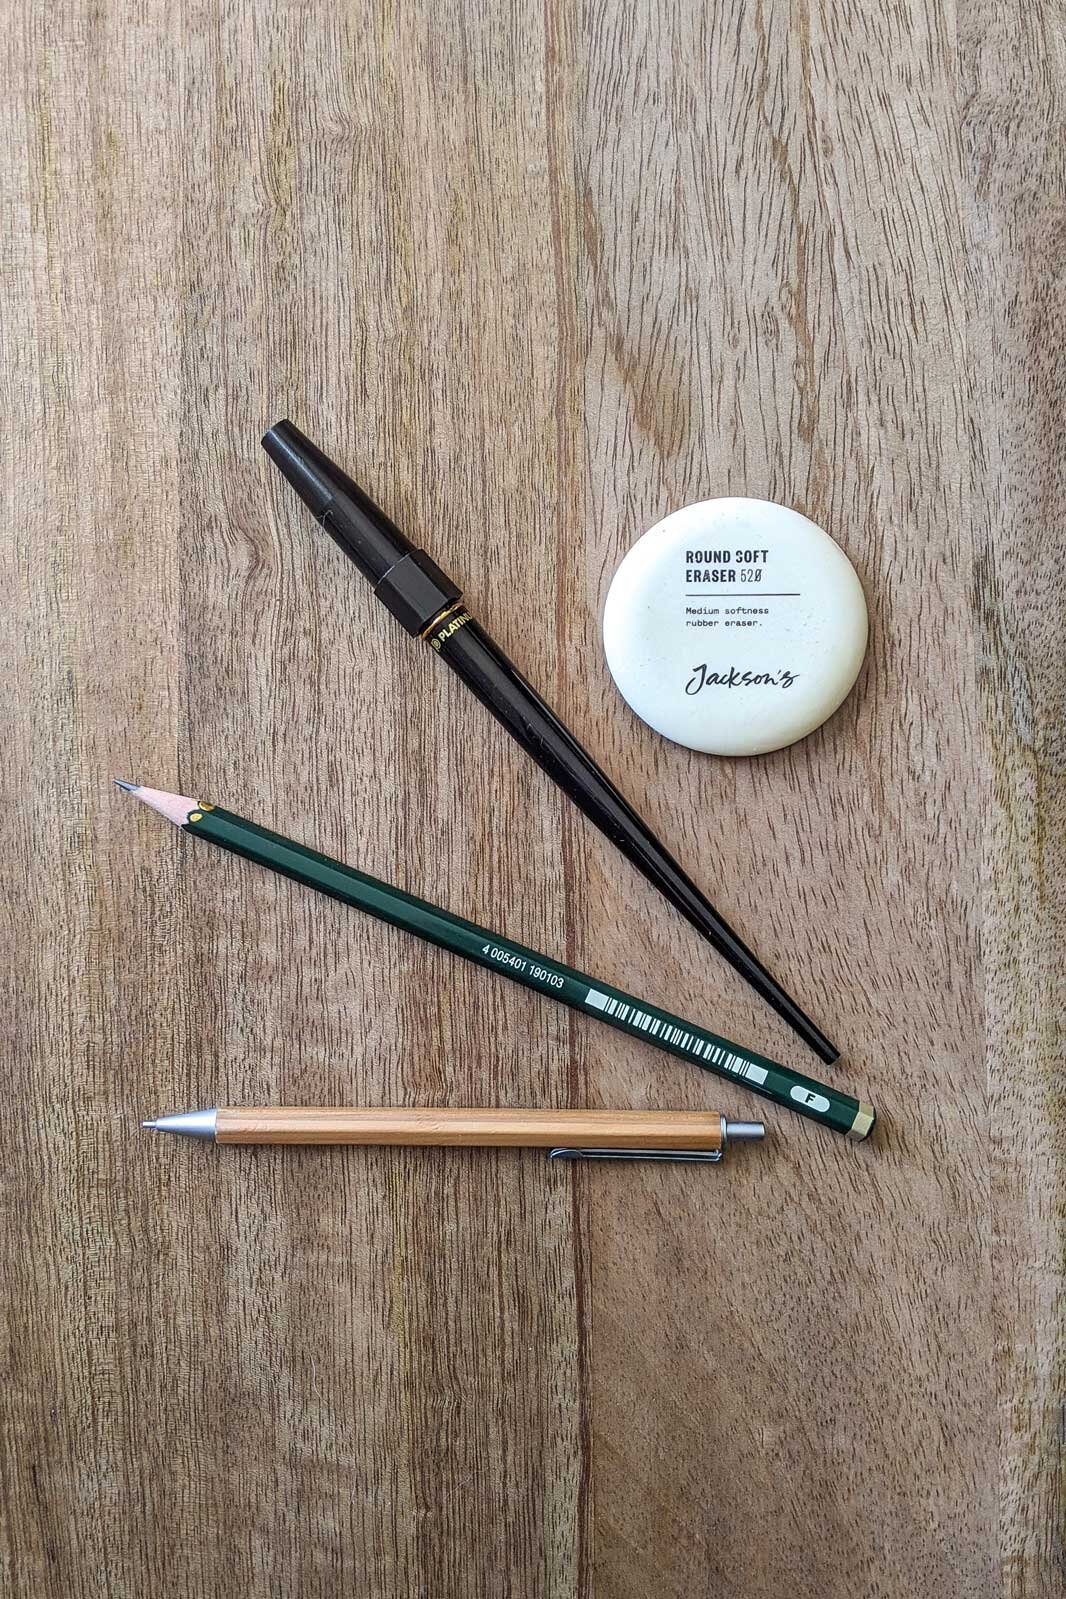
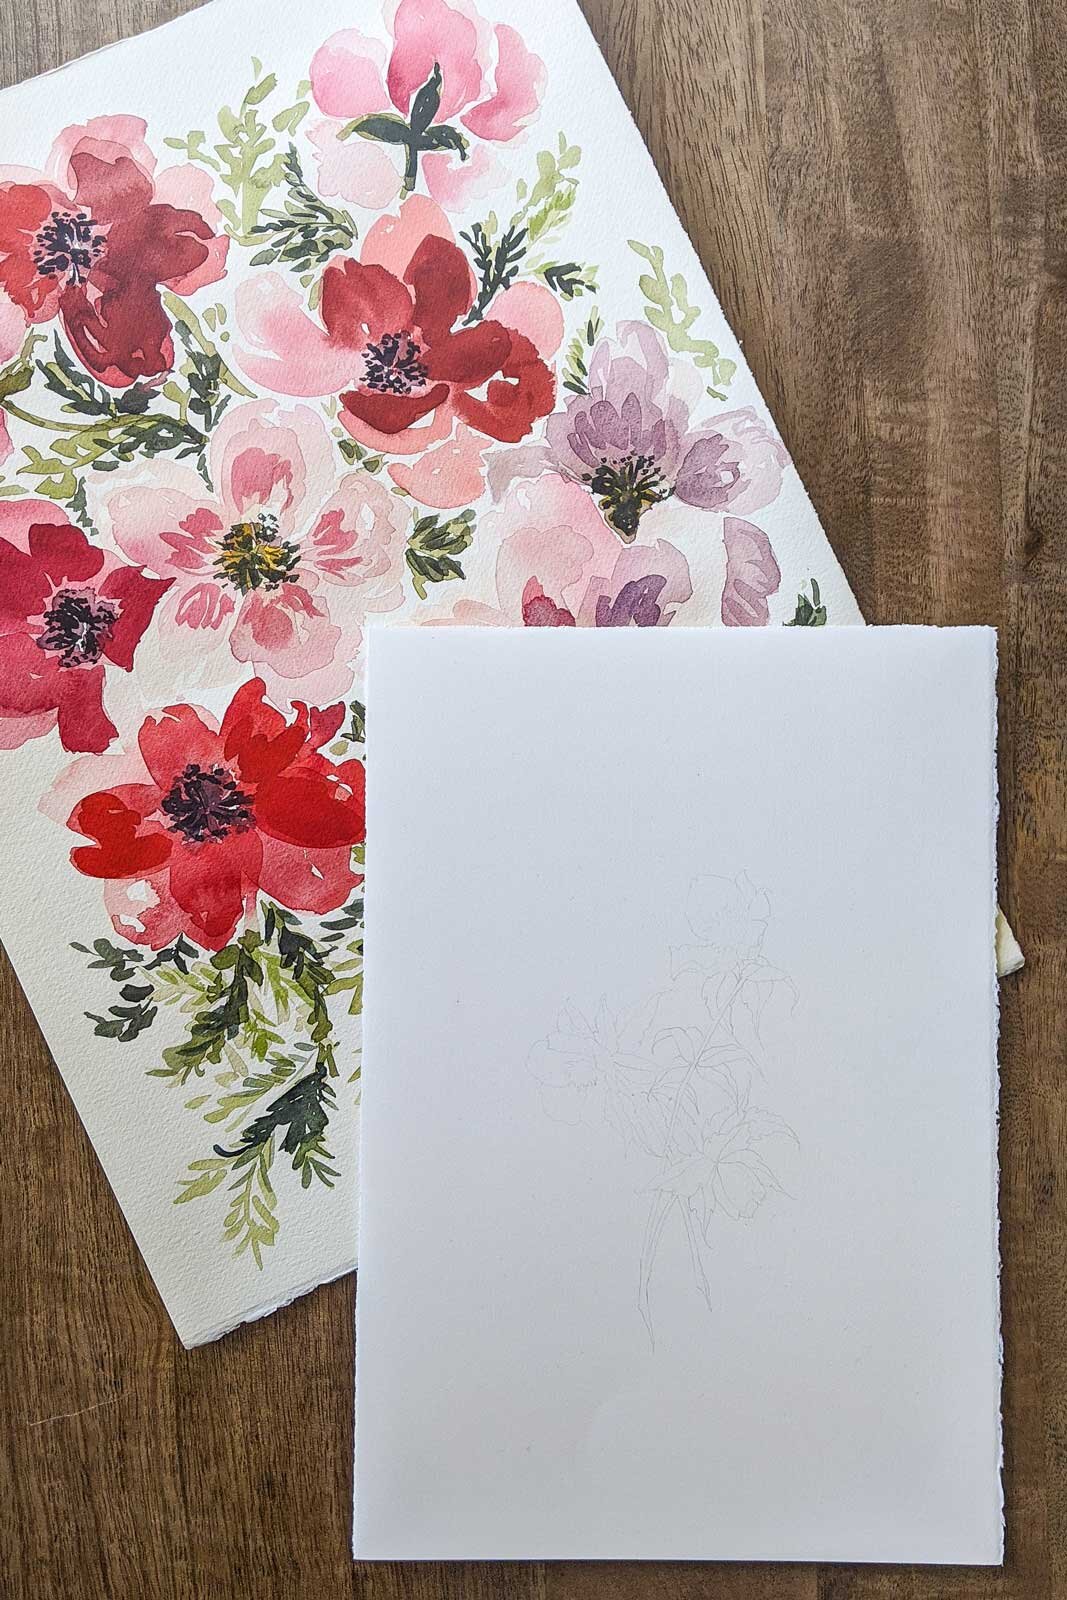
For drawing and sketching I have a lovely fountain pen with carbon ink that you can add refills to. I just love drawing with ink, there’s something about not being able to erase it that I really enjoy. And for my loose paintings I rarely sketch onto the watercolour paper. But for my more detailed paintings I do a very faint sketch with a graphite pencil. You want to make sure it’s super light so you can erase the lines after your painting is dry.

Platinum Carbon Drawing and Drafting Fountain Pen

Faber Castell F (my favourite for faint drawing onto watercolour paper)

Muji Mechanical Pencil

WATERCOLOUR PAPER & SKETCHBOOKS

I love painting on loose sheets of paper rather than watercolour blocks and my favourite brand is Fabriano Artistico. I like the texture of the not press for loose florals where I use more water and the hot press for more detailed paintings.

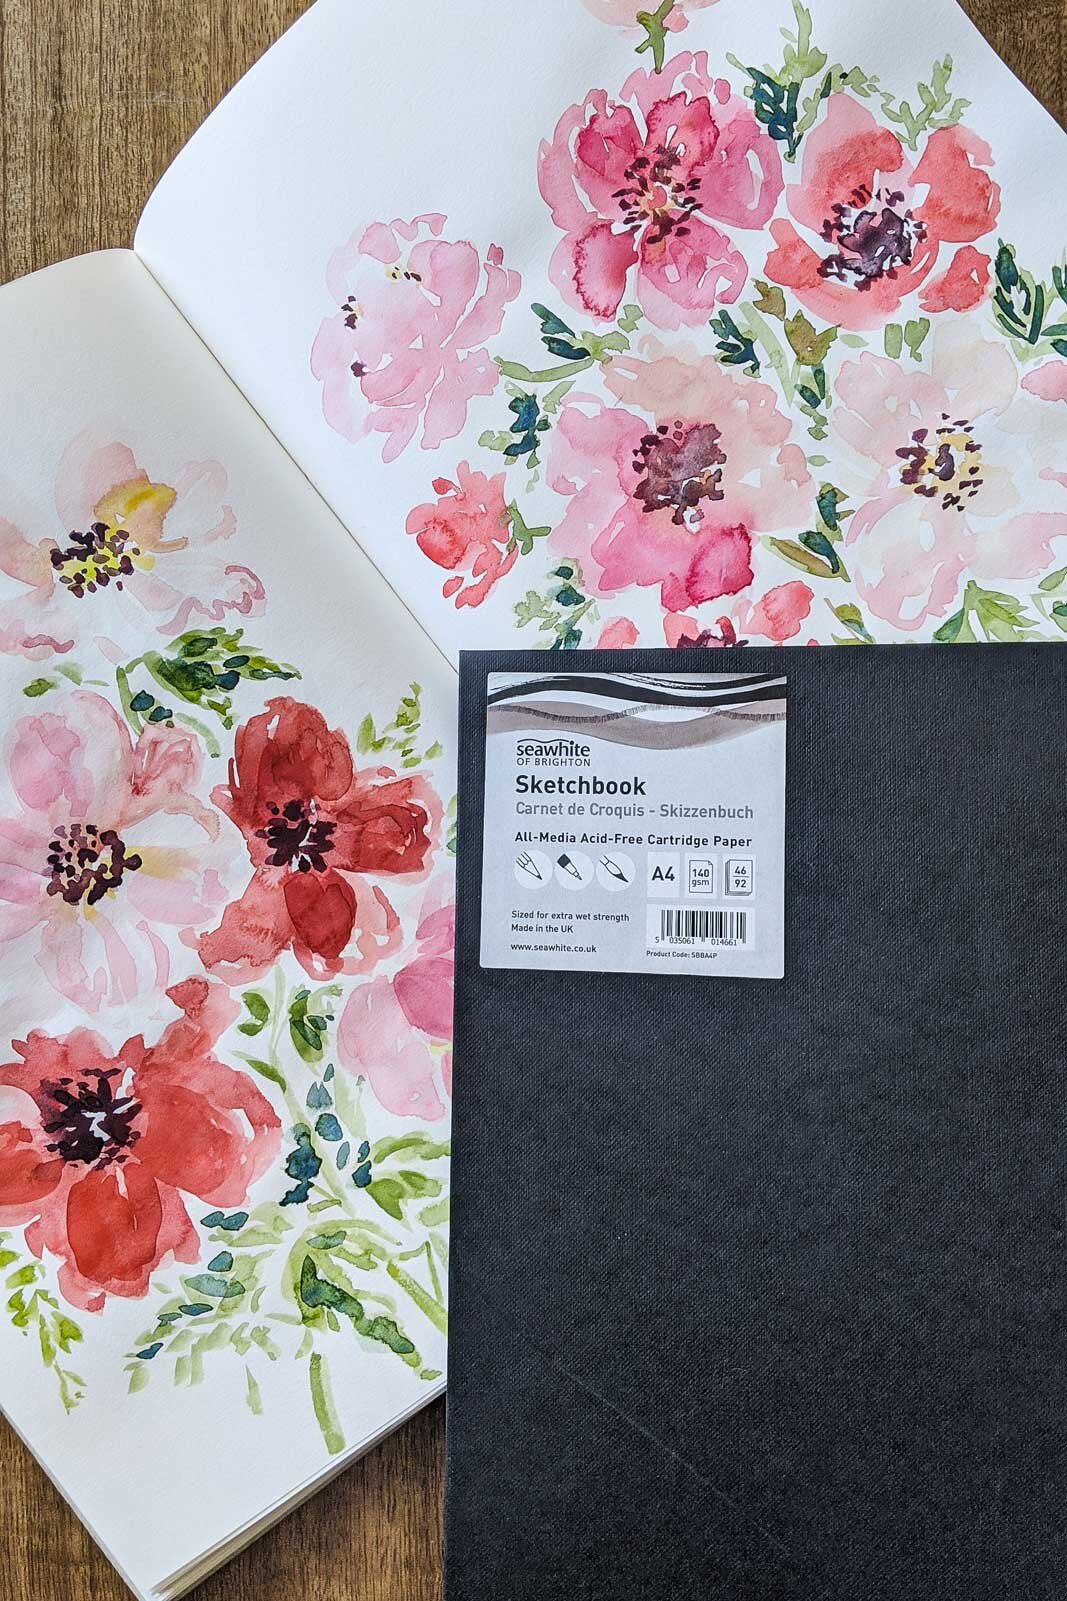
For loose floral sketches I use a sketchbook from Seawhite of Brighton that is 140 gsm. If you use a lot of water with your watercolours it’s probably worth getting a sketchbook with watercolour paper. But for me this is perfect for loose sketches using gouache. And since it’s just a sketchbook I don’t mind if the paper buckles a bit or it isn’t perfect.

Fabriano Artistico, not press

Fabriano Artistico, hot press

Seawhite of Brighton Sketchbook


I hope that is helpful and not too overwhelming. I use quite a few different materials and wanted to make sure to include options depending on what type of painting you want to do and how much you want to spend on materials. Let me know if you have any questions.

Pin for later

 
mathilda-lundin-art-supplies-for-floral-painting-pinterest.jpg
 

Related posts

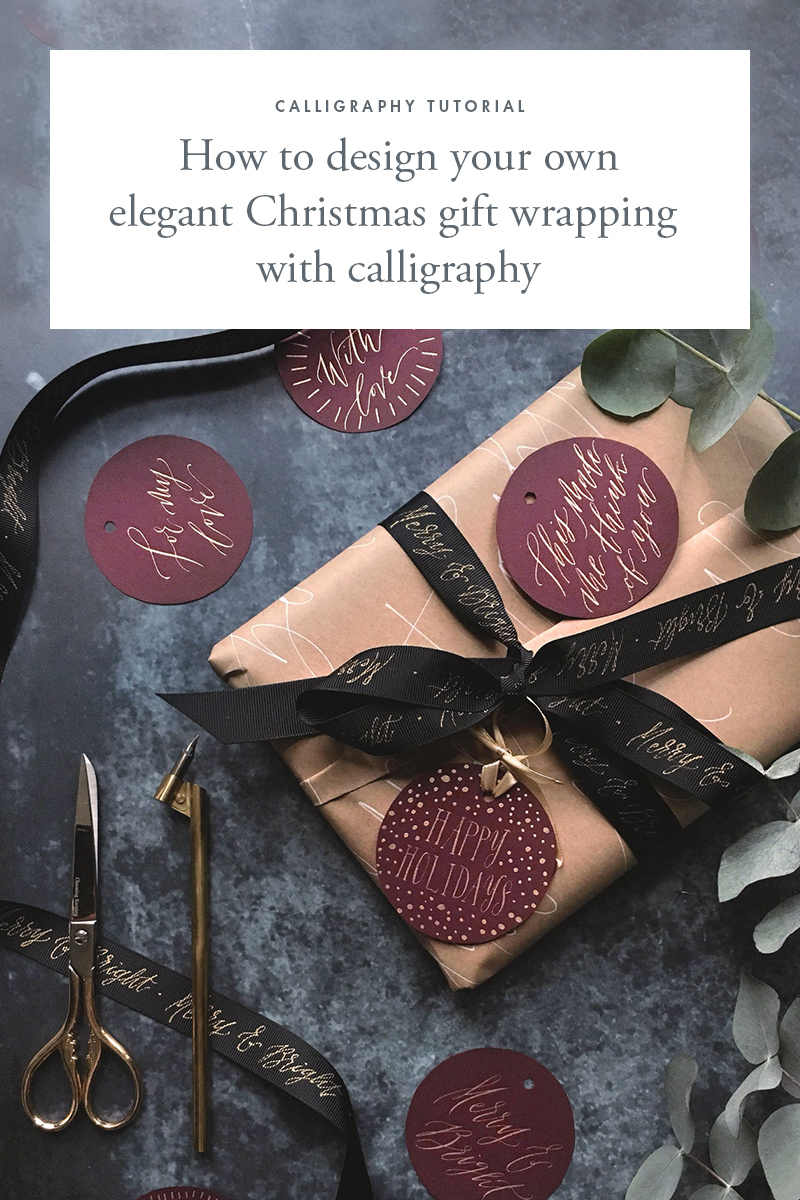
How to design your own elegant Christmas gift wrapping with calligraphy

As Christmas is drawing closer I find myself thinking more and more about what to give to my loved ones, and the gift wrapping that comes with it. My grandma would always use the most beautiful old wrapping paper that she collected, and every year I would take my time opening the gift from her with thought and care. Because it’s just something about beautiful gift wrapping that makes the act of giving feel even more special to me.

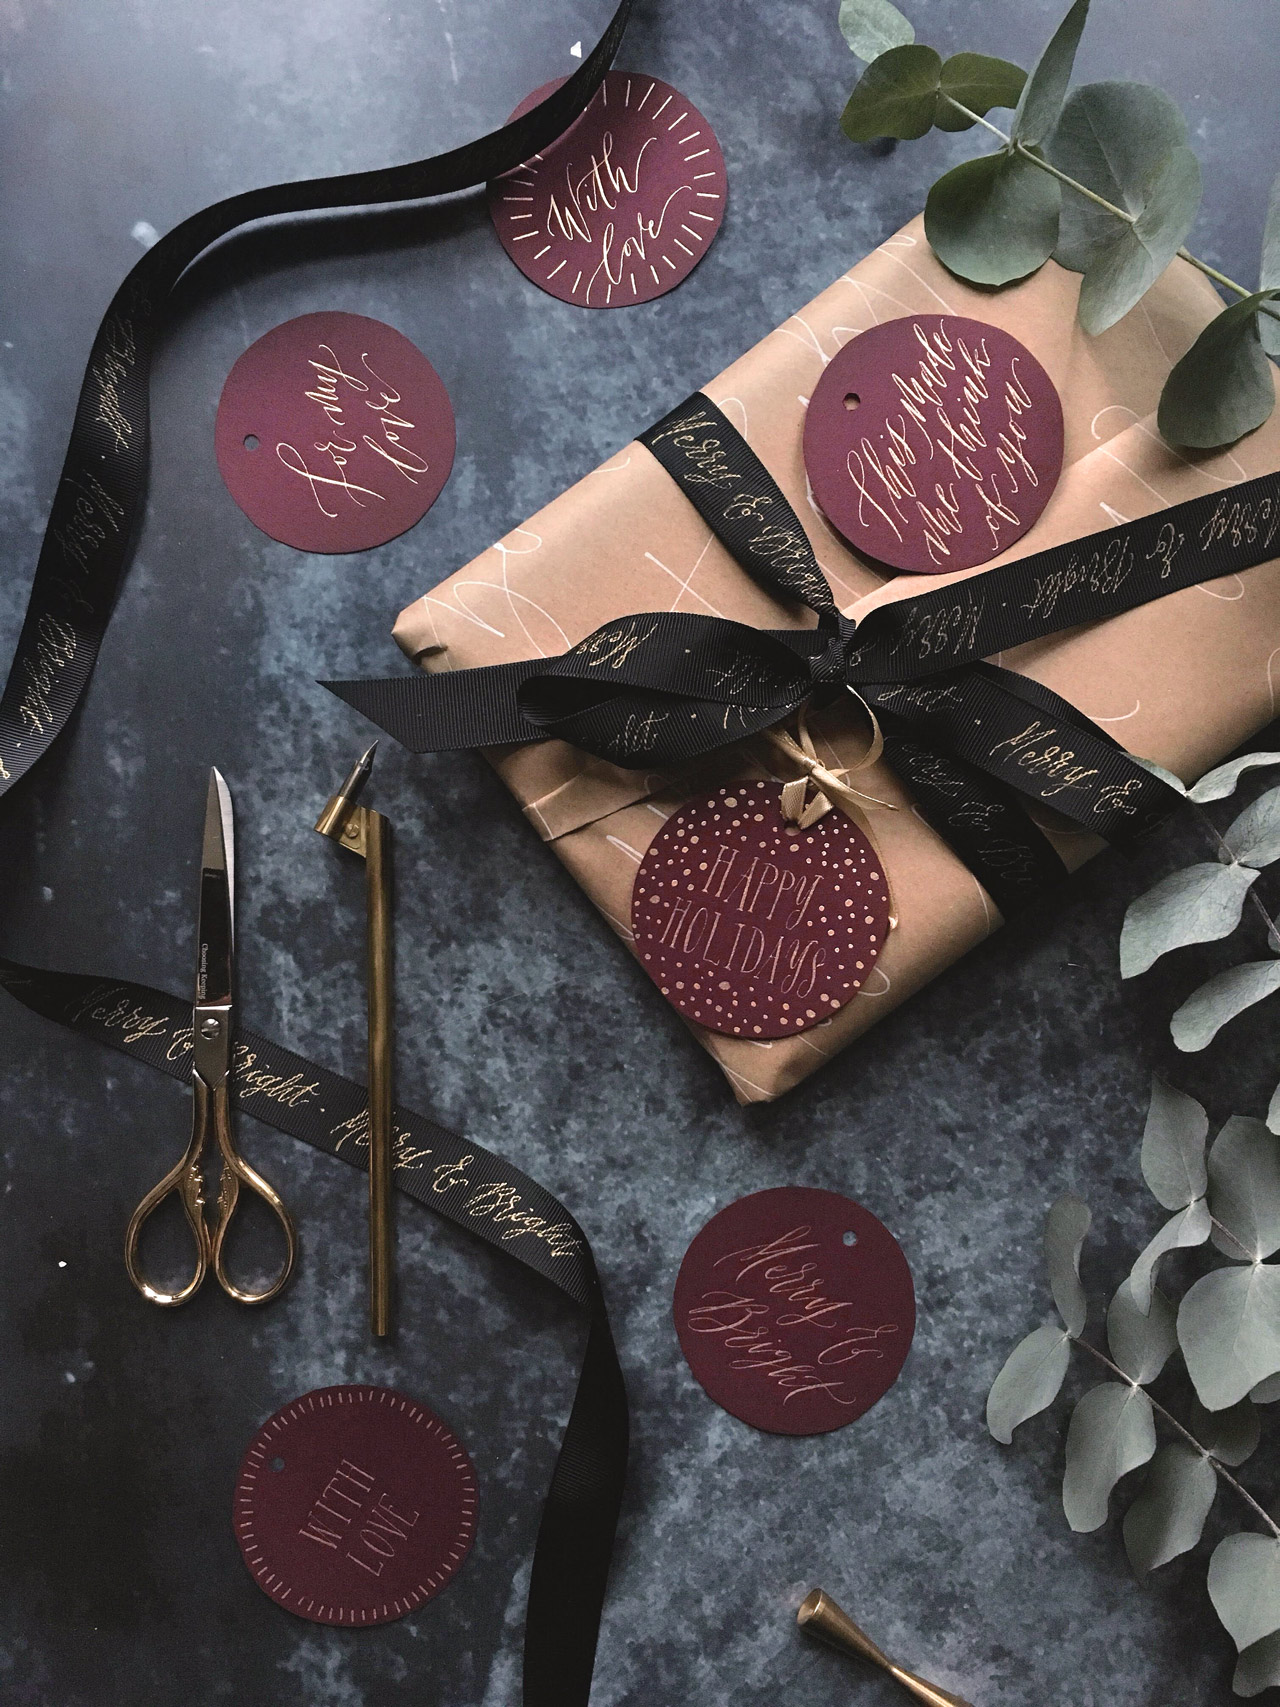
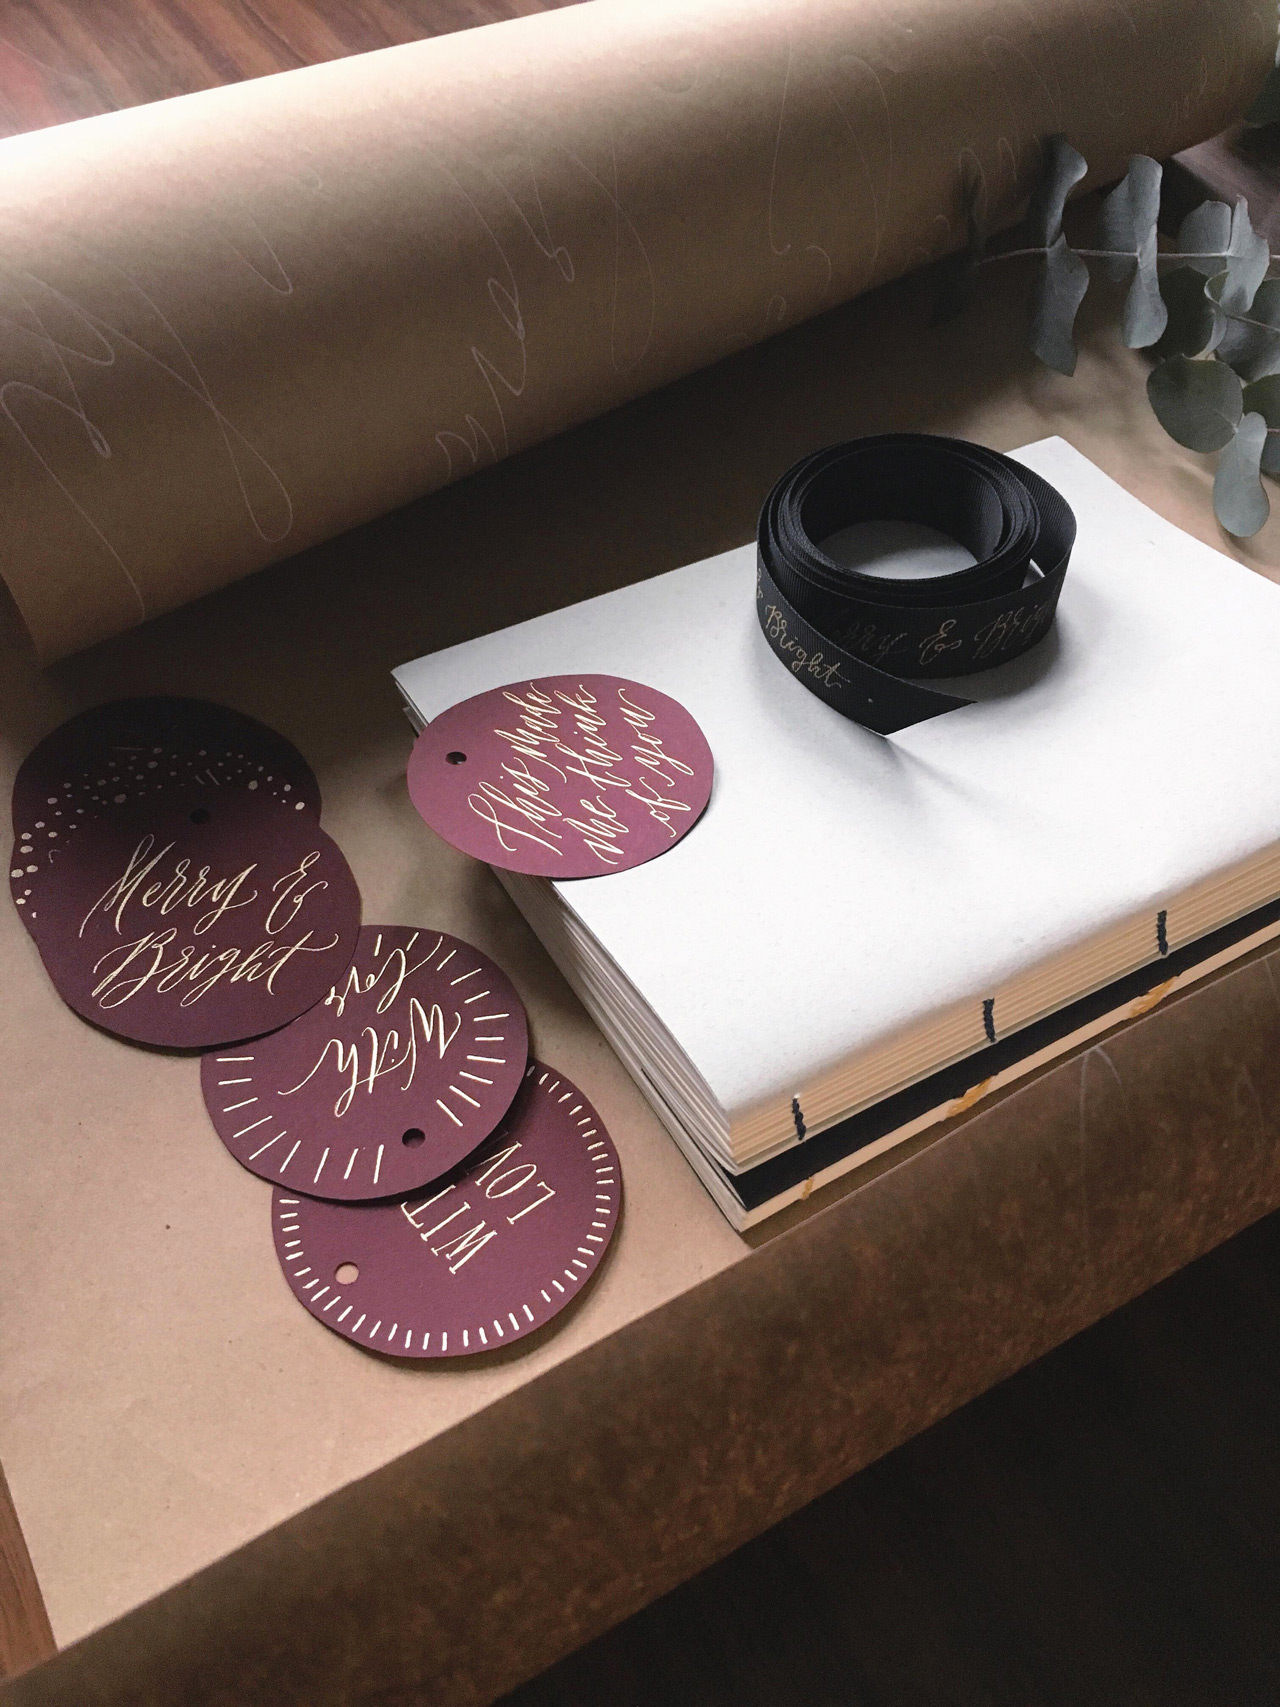
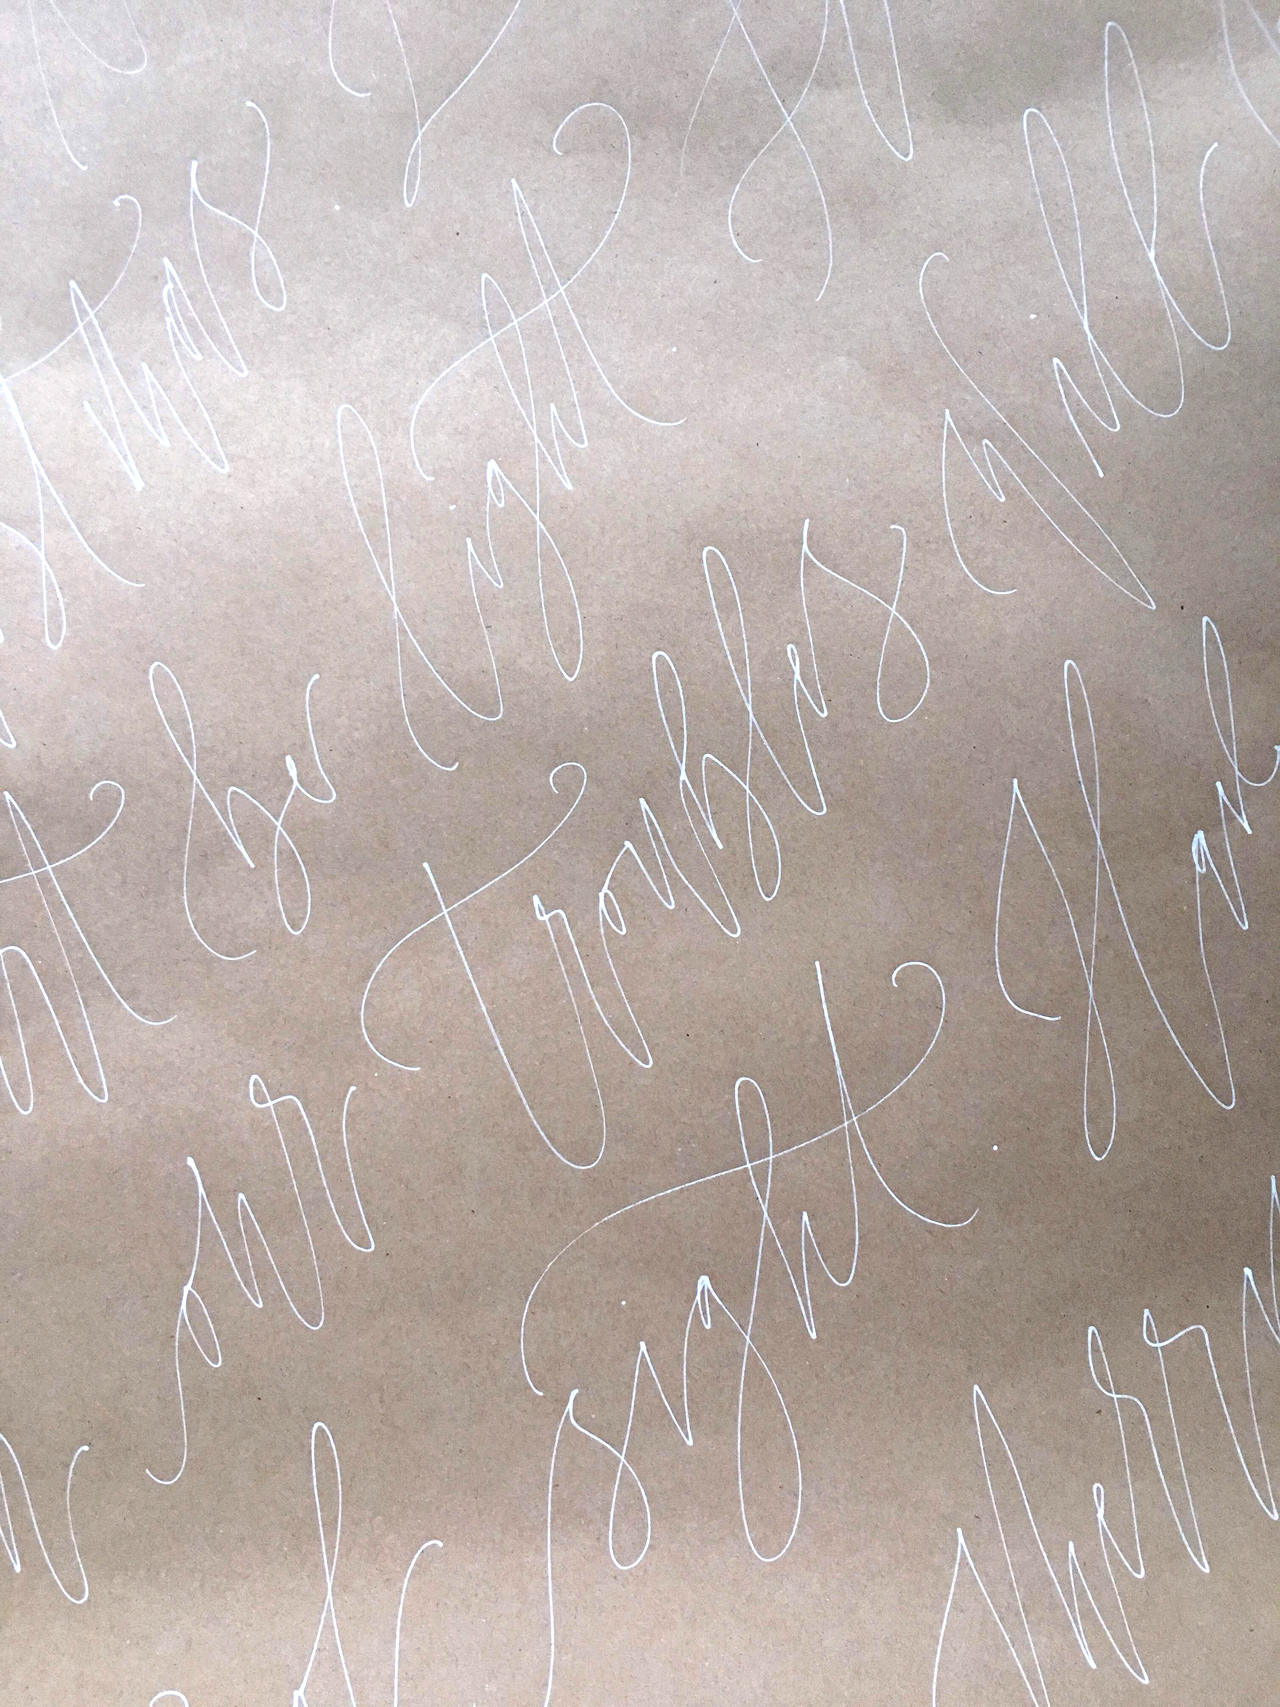
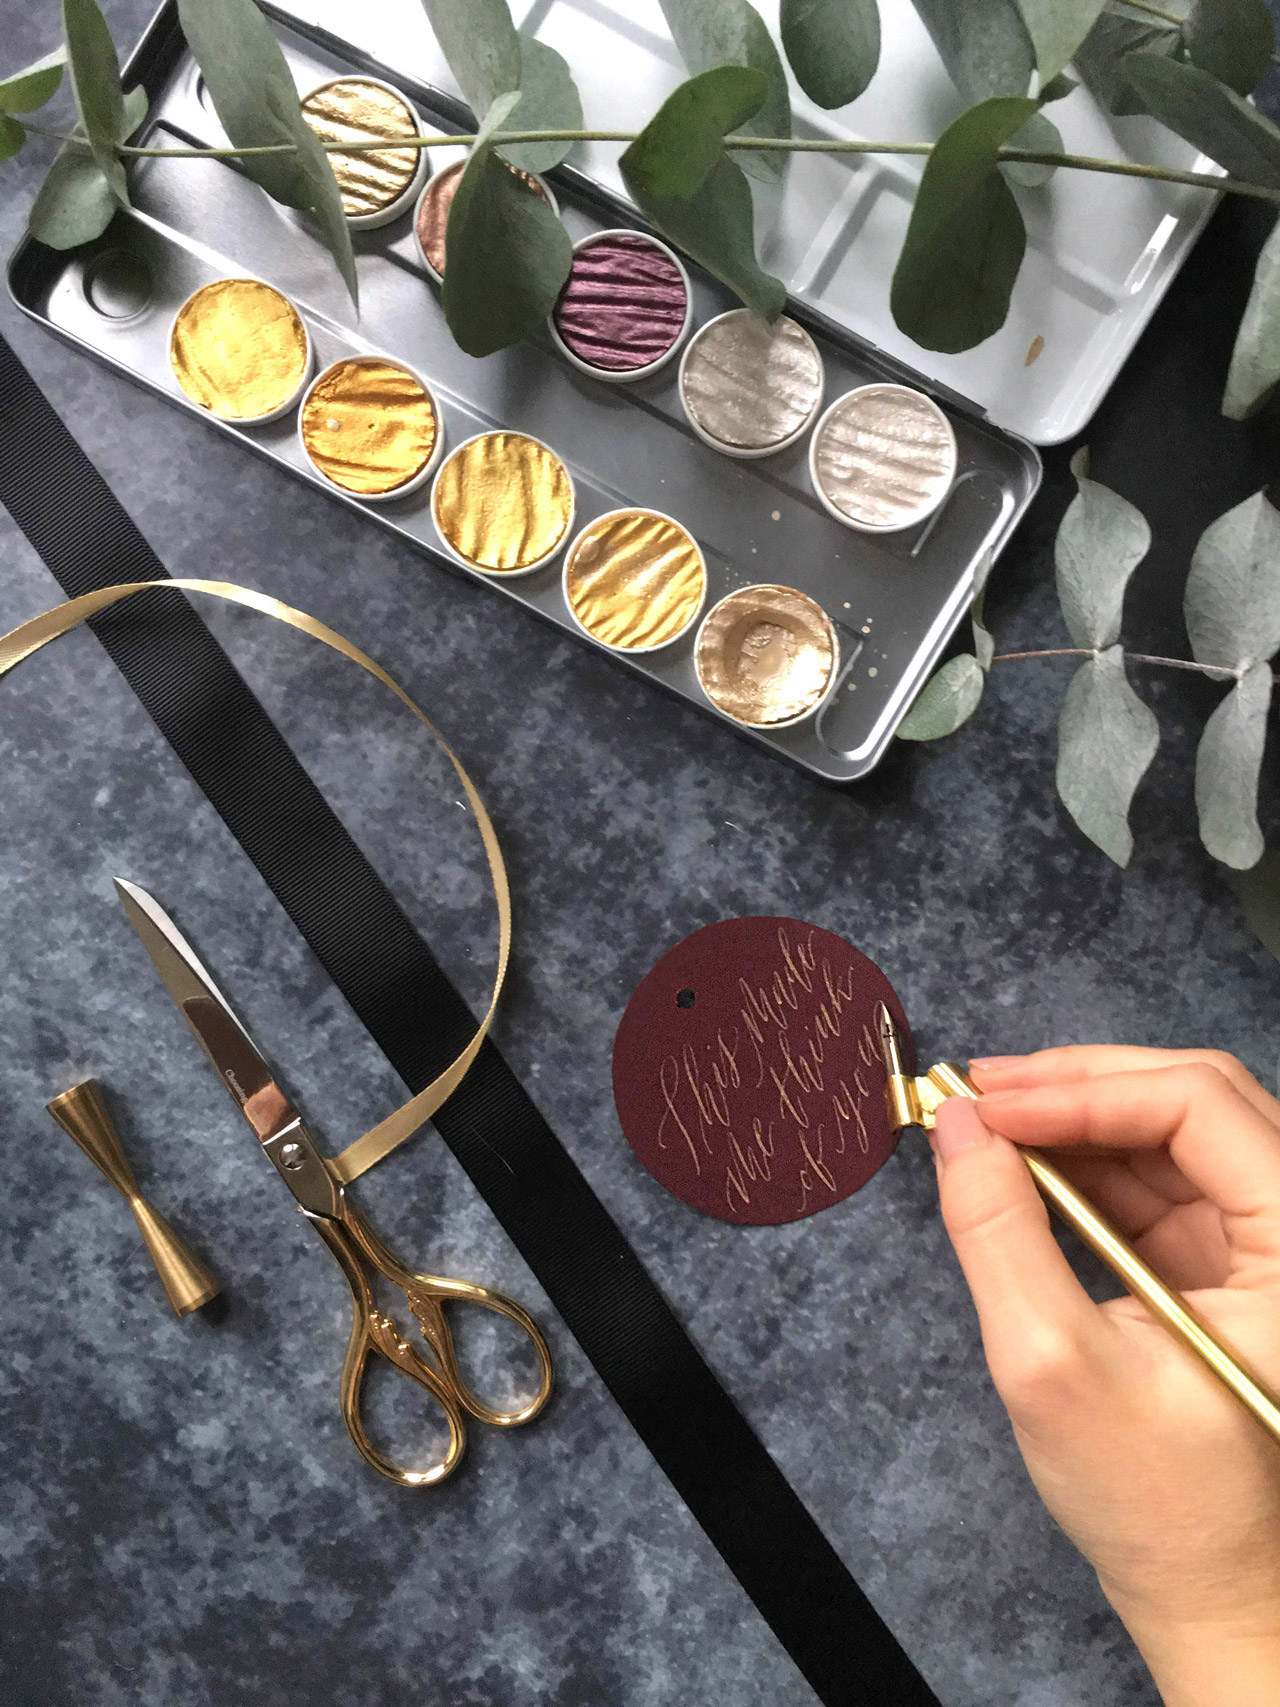
Now, I don’t have any beautiful vintage paper lying around so I decided to make my own Christmas gift wrapping by adding calligraphy details to, well, everything. I added big and expressive calligraphy on brown wrapping paper, gold lettering to the ribbons and finished off my gift wrapping with round gift tags with festive metallic ink. And I captured it all in this tutorial if you want to create your own calligraphy Christmas gift wrapping.

 
luxury-calligraphy-gift-wrapping-4.jpg
calligraphy-christmas-wrapping-paper-gift-tags.jpg
 

Tools

  • Thick paper stock in a beautiful colour for your gift tags

  • Brown kraft paper

  • Wider ribbon for you to write your calligraphy on

  • Thin satin ribbon to attach your gift tag

  • Your choice of calligraphy nib and pen holder

  • Metallic ink. I used Moon Gold from the Finetec Pearl Metallic inks palette (one of my favourites) which I have written a guide for how to use here.

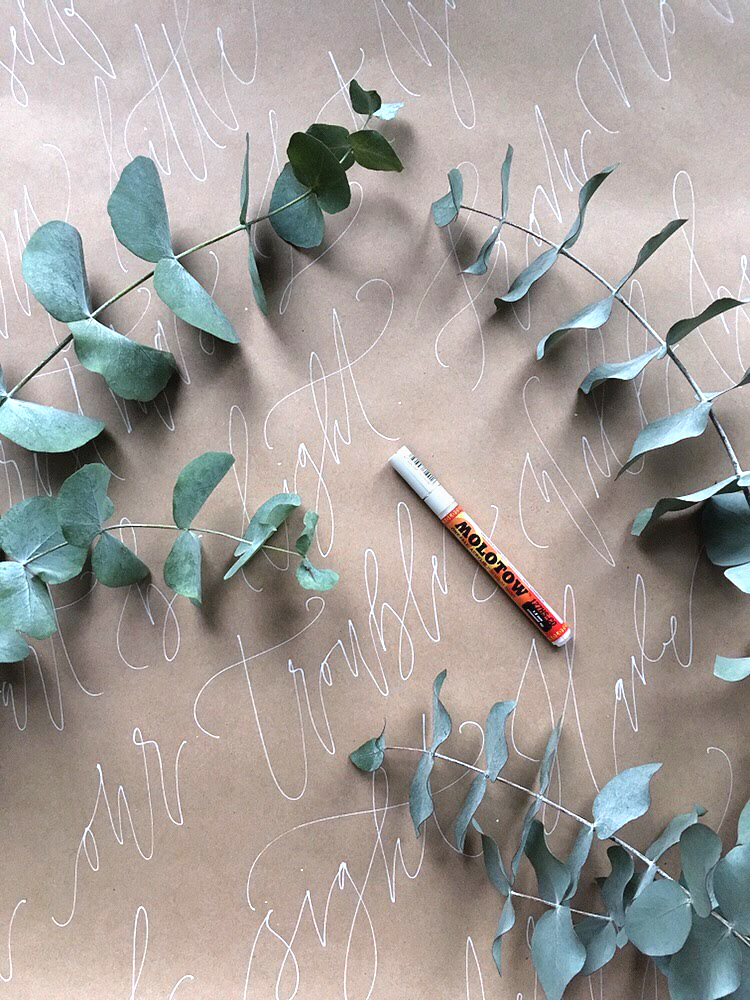
  • Metallic and/or white paint markers to write on your ribbon and kraft paper (I love the Sakura Pen-touch metallics and the white Molotow acrylic marker)

  • Scissor

  • A hole punching tool

 
calligraphy-christmas-wrapping-paper-tools-2.jpg
calligraphy-christmas-wrapping-paper-2.jpg
 

The wrapping paper

If you want to this really neatly I would encourage you to measure out a large enough piece of the kraft paper to cover your gift, draw faint lines with a ruler and do the monoline calligraphy with your paint marker. I decided to be a bit more loose and expressive, looking at the overall effect rather than each individual word and line. So I simply rolled out a piece paper and went for it. Go for what suits the style of your lettering best and what you feel the most comfortable with.

 
calligraphy-christmas-wrapping-paper-5.jpg
calligraphy-christmas-wrapping-paper.jpg
 

The ribbon

Try to weigh down one end of your ribbon by placing a heavy object on it, keep the ribbon in place with your other hand. This should help you to write smoother on it.

 
calligraphy-christmas-wrapping-ribbon.jpg
luxury-calligraphy-gift-tags-2.jpg
 

The gift tags

Start by drawing a faint guide for your tags, then cut them out and punch a small hole where the ribbon will go. Write your message beautifully with your calligraphy tools and metallic ink. Finish your tags off with a thin satin ribbon in a colour of your choice.

 
luxury-calligraphy-gift-tags-3.jpg
luxury-calligraphy-gift-tags.jpg
 

I hope you’ve found this tutorial inspiring and that you give personalising your gift wrapping a go. Let me know in the comments if you do or if you have any tips on how to get creative with your gift wrapping.

Mathilda x


Pin for later

 
elegant calligraphy christmas gift wrapping
 

Related posts

How to use the Finetec palette for pointed nib calligraphy

 If you're into Modern Calligraphy, and have been looking for something to give your work that extra sparkle, you've probably come across the stunning metallic palettes by Finetec (sometimes knows as the new name Coliro). They have a beautiful range of colours ranging from gold to silver to beautiful rose metallics. With their ingredients of gum arabic and mica-pigments they come out beautifully opaque on both light and dark surfaces. 

But here's the thing that might seem tricky at first sight. They're neatly packaged in little palettes, that looks more like watercolours than a ready to use ink. How do you get the ink from the palette onto your nib without dipping it? Don't worry, it's a bit more of a process than a ready to use ink. But the results are absolutely stunning and well worth the extra effort.
 

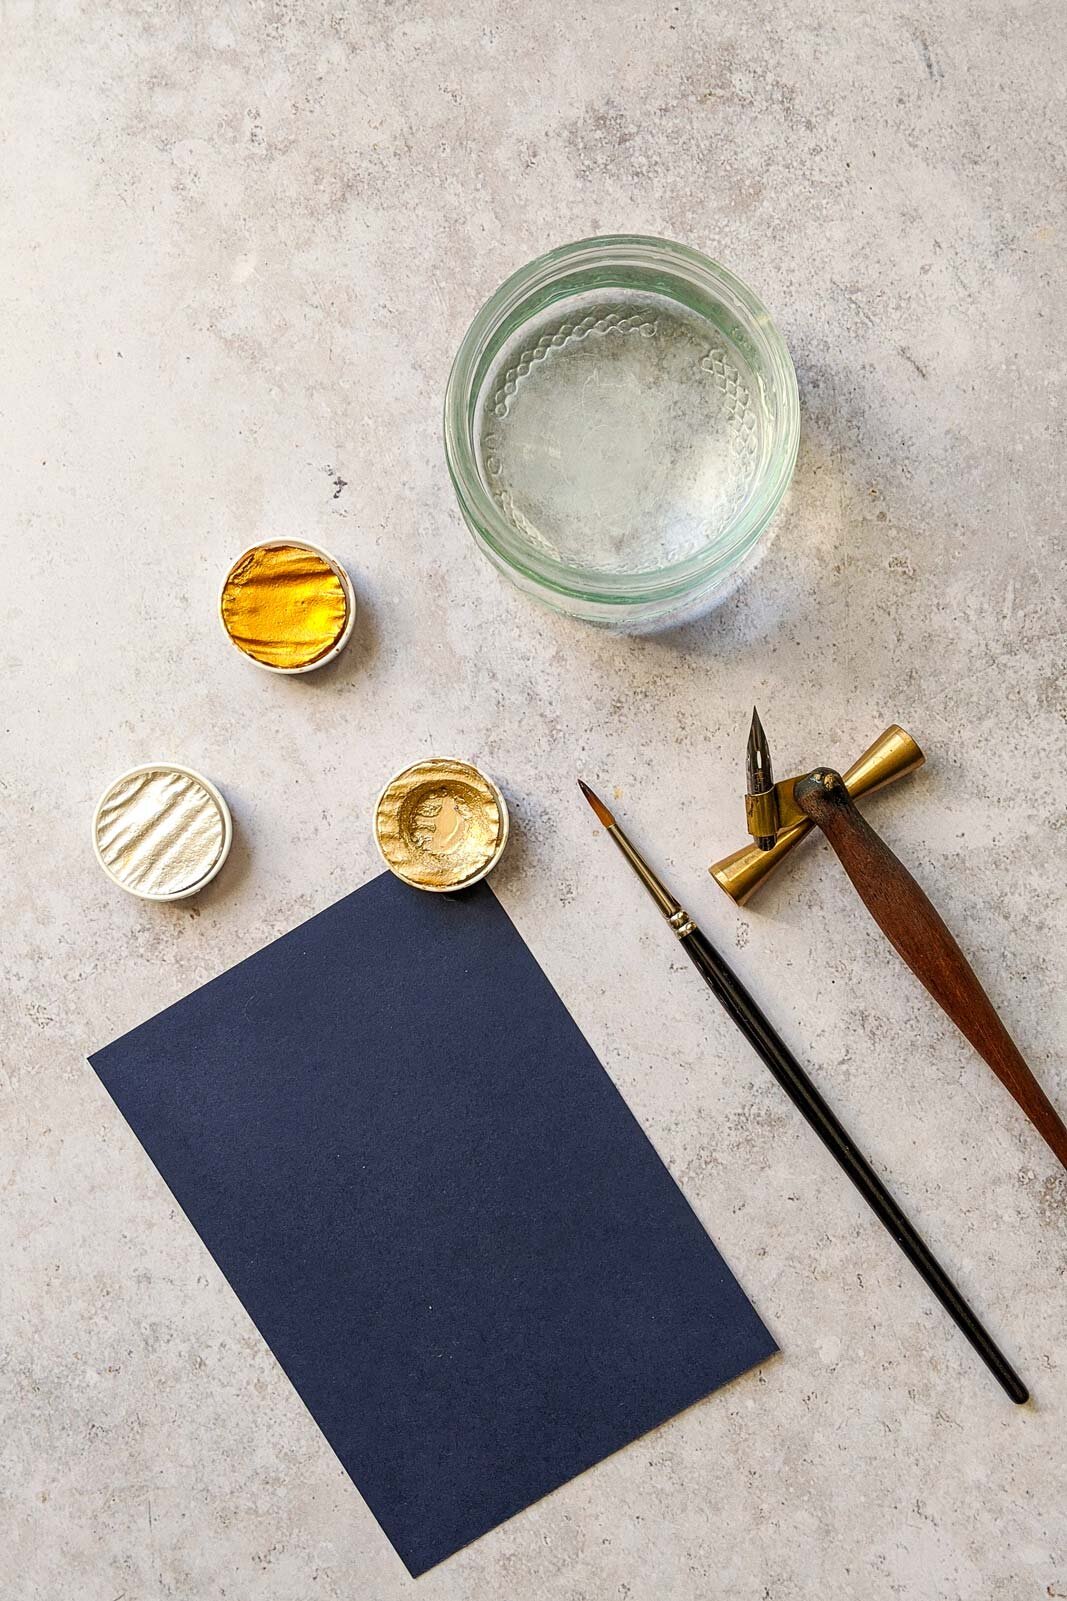
Here's what you'll need

  • Finetec colour of your choice

  • Your favourite nib and penholder

  • A small brush

  • A jar of water

  • Some paper to write on

 
mathilda-lundin-finetec-palette-calligraphy-tutorial-tools.jpg
 

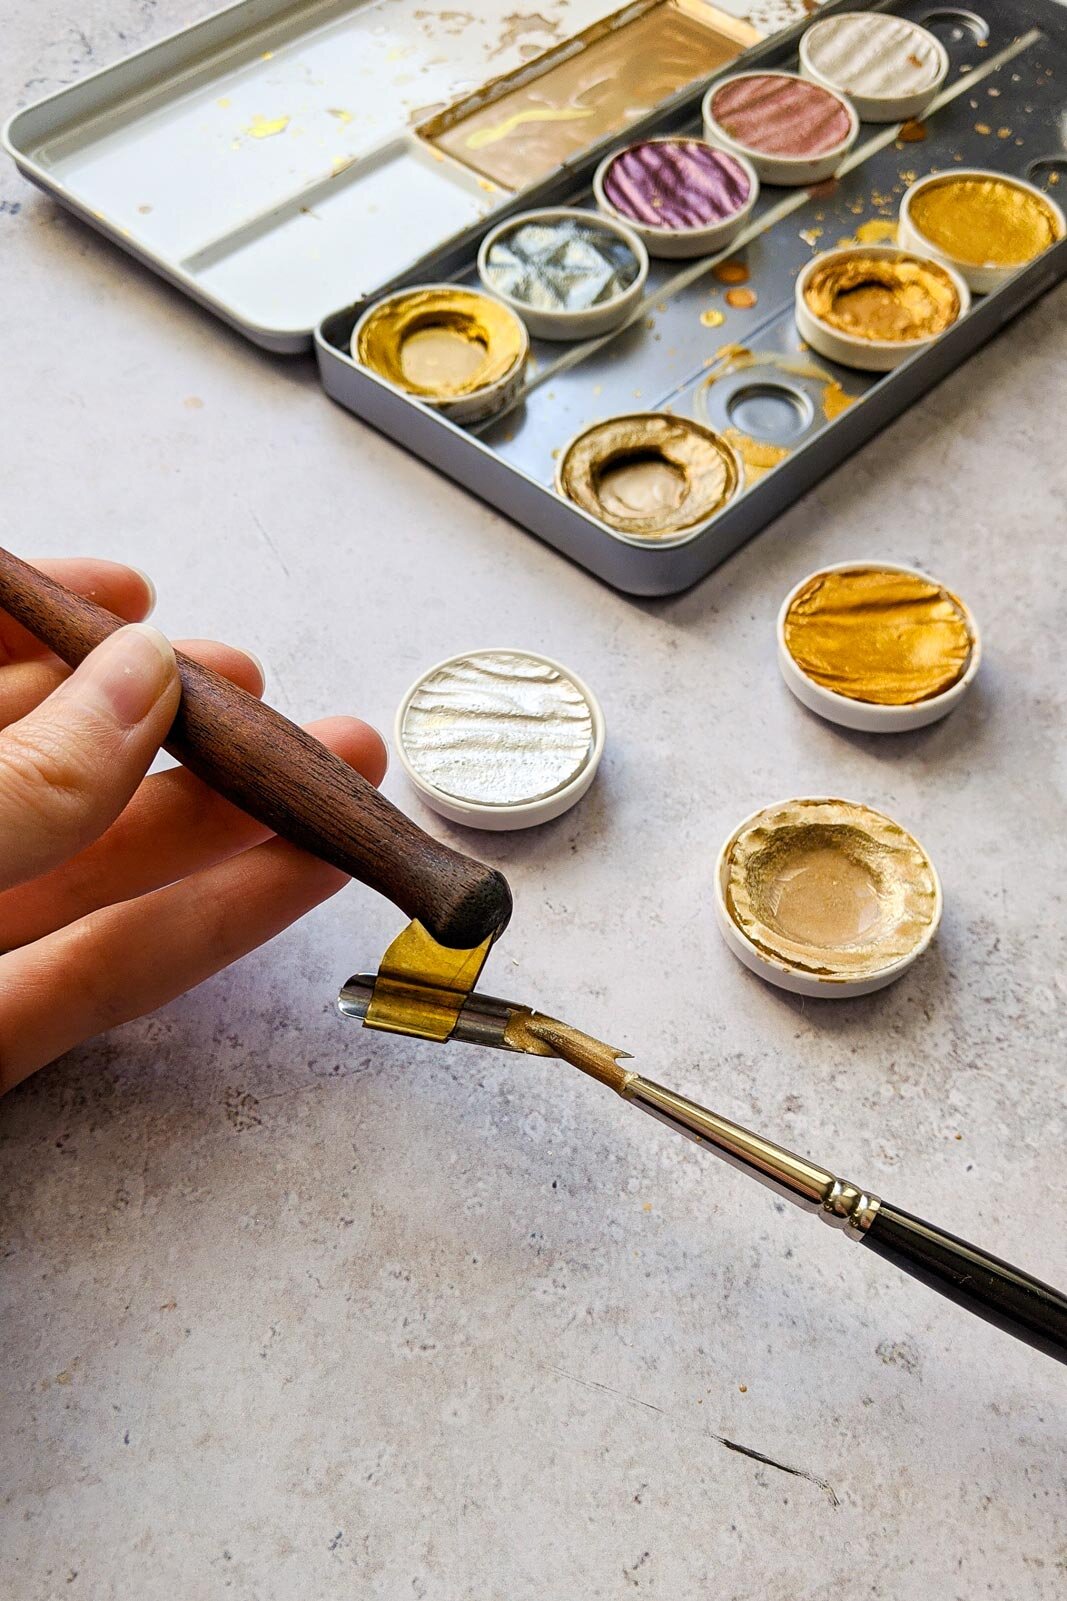
First you add some water to the pigment, let it sit for a couple of seconds or so to let it soften up a bit. After that you want to start to gently mix the water with the pigment. You're looking for a milky consistency (on the top layer, the pigment below is still solid). I usually go between my water jar and the palette a few times. If the ink isn't flowing smoothly I add more water. If I end up with a too watery consistency I just let it sit for a while and let the pigment go back to a more solid state. So experiment and see what consistency works for you. 

When you're happy with your ink mix you load up your brush and gently paint on the ink on the underside of your nib. Make sure to fill up the reservoir by looking at when the hole is completely covered with ink. And that's it, you're ready to do some sparkling beautiful calligraphy!

Hope you found this tutorial helpful and please feel free to share it with anyone you think might find it interesting and inspiring.

Experiment, have fun and write something beautiful! And please tag me on Instagram (@mathildalundin) to show me what you've created xx

Pin for later

 
mathilda-lundin-finetec-moon-gold-pointed-pen-calligraphy-tutorial.jpg
 

Related posts

Festive place cards with wax seals and ribbons


One of my favourite things about this festive time of year is all the excuses it provides for us to make beautifully calligraphed gift tags and place cards. I'm currently obsessed with my new wax seal from Stamptitude (also, how can you not love that name?) and black wax from Granit. So I decided to use them to create some place cards for New Years. Including one for our little kitten as well of course. Does this officially make me a crazy kitten mama? The little ribbon makes them perfect to add around each guests napkin at the table. 

So let's get to how to make these! 


You will need

  • Thick paper

  • Wax seal

  • Wax

  • Ribbon

  • Something to write with (I used a Nikko G nib with an oblique penholder and sumi ink)

Plus optional sweet treats. I say optional but I’m pretty sure it’s scientifically proven to help with your crafts. I chose mince pies purely because they’re pretty. 

 
christmas-placecard-1.jpg

Step 1

Melt your wax.

christmas-placecard-2.jpg

Step 2

Attach the ribbon to the paper with your wax and stamp it with a pretty design.

christmas-placecard-3.jpg

Step 3

Write the name or message on your tag.

christmas-placecard-4.jpg

Step 4

Make someone happy (Alex enjoyed his more than Freja did). Relax and enjoy your well deserved treat.

Hope all of you have a lovely New Years Eve! 


Related posts